OAuth 2.0 Handshake
To simplify initial testing of the OAuth 2.0 handshake, we prepared a helper APIs for you that will handle the full cycle of user authentication and issuing the OAuth 2.0 access token with appropriate scope.
Configuring OAuth 2.0 Credentials
First, you need to configure the standard OAuth 2.0 application (client) credentials: OAUTH_CLIENT_ID, OAUTH_CLIENT_SECRET and OAUTH_REDIRECT_URL.
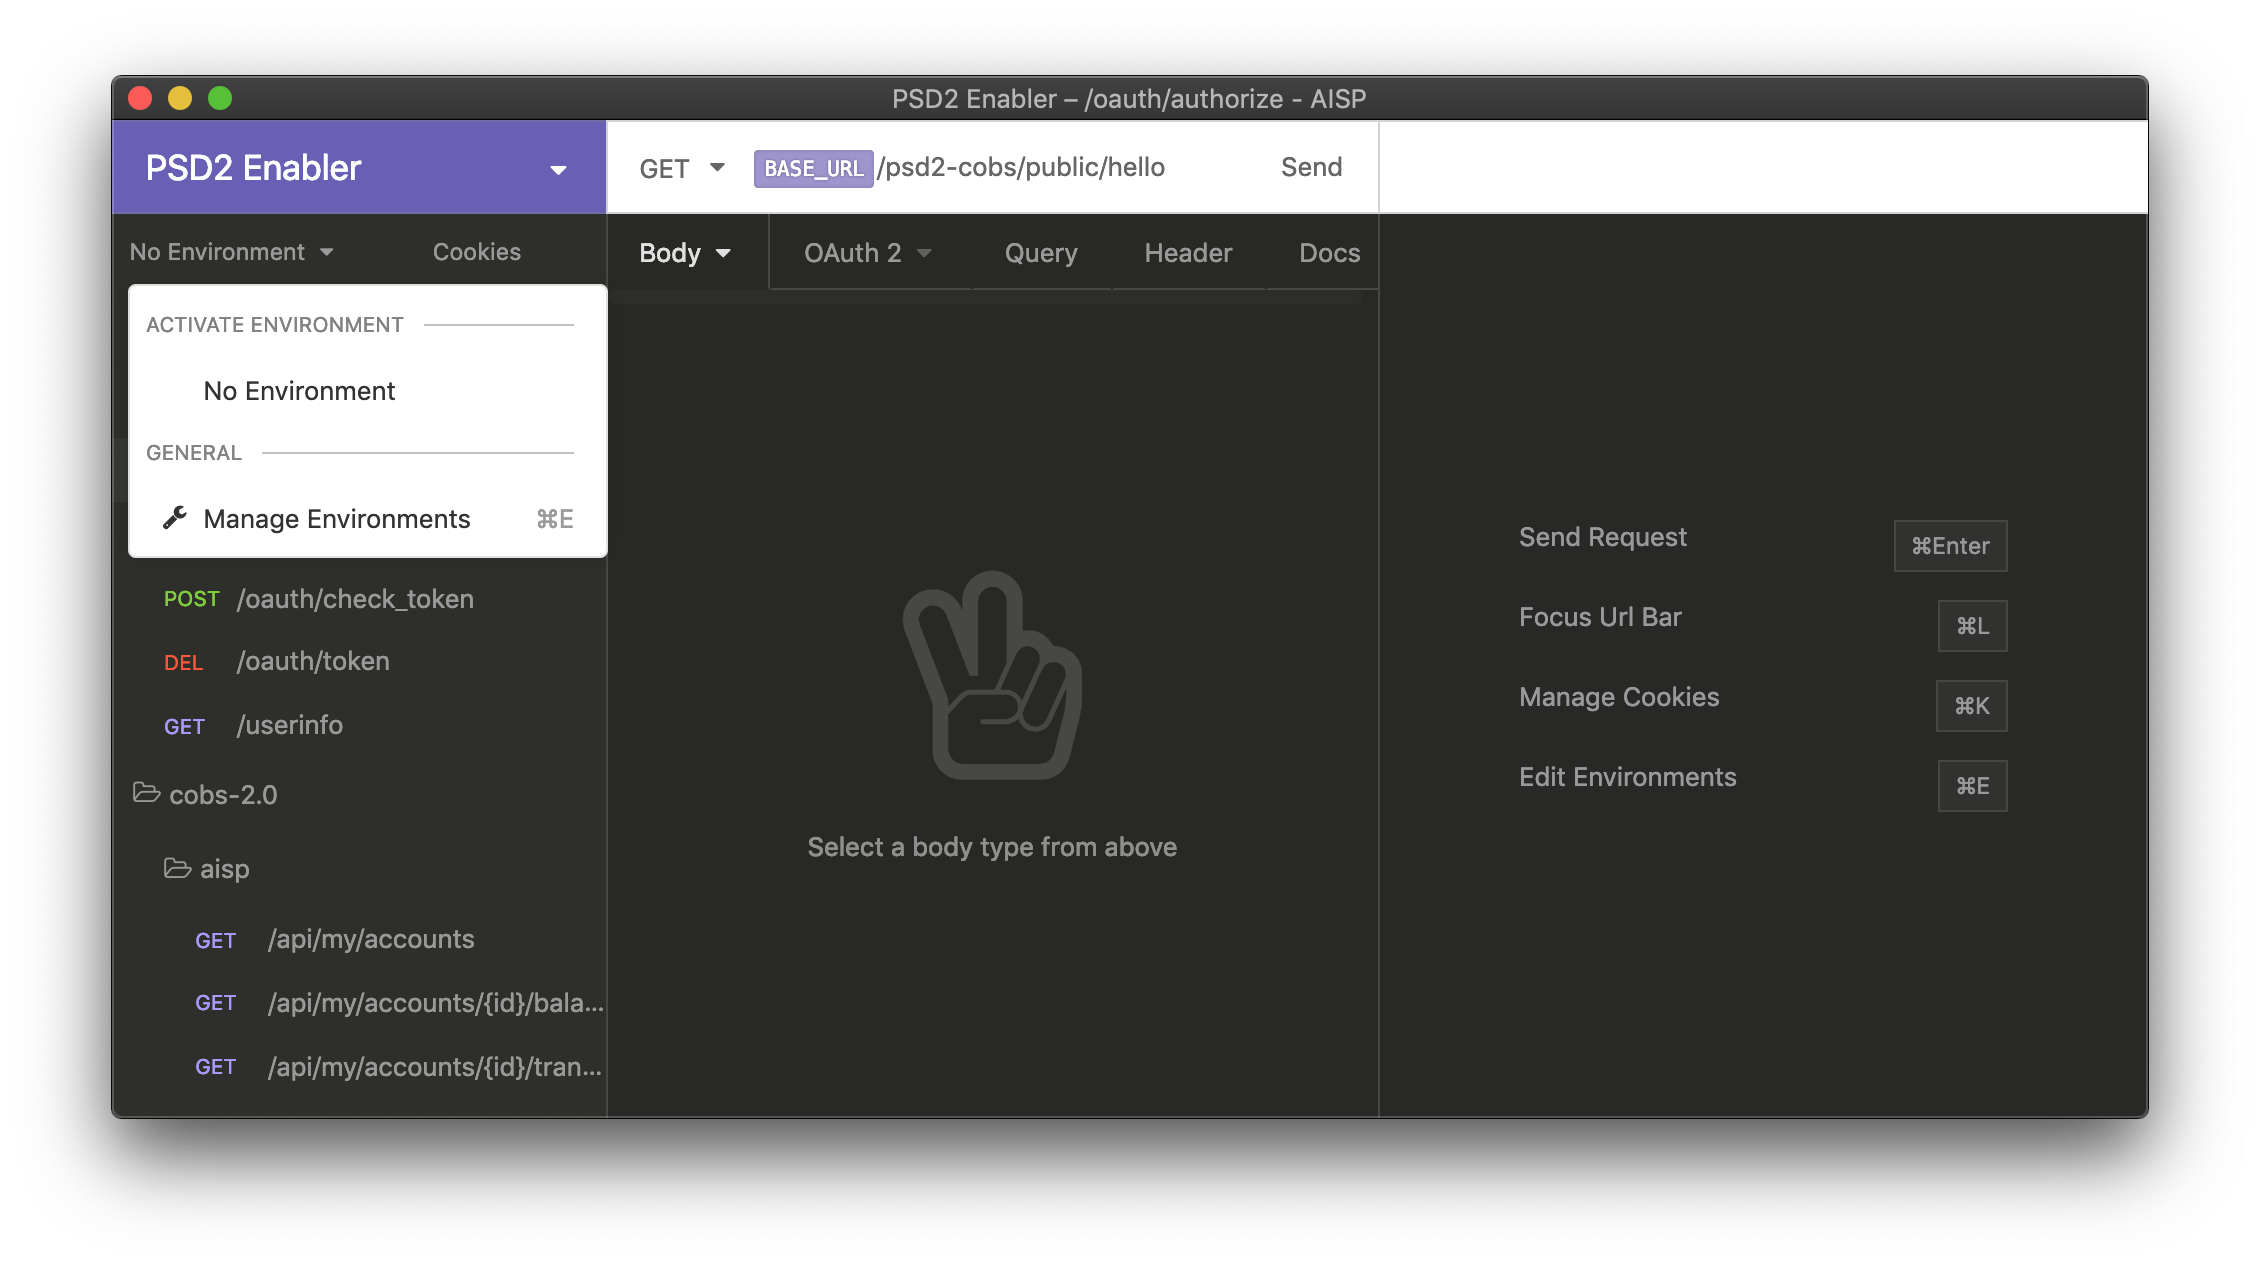
- In the upper left corner, click the arrow next to the "No Environment" link and select "Manage Environment".
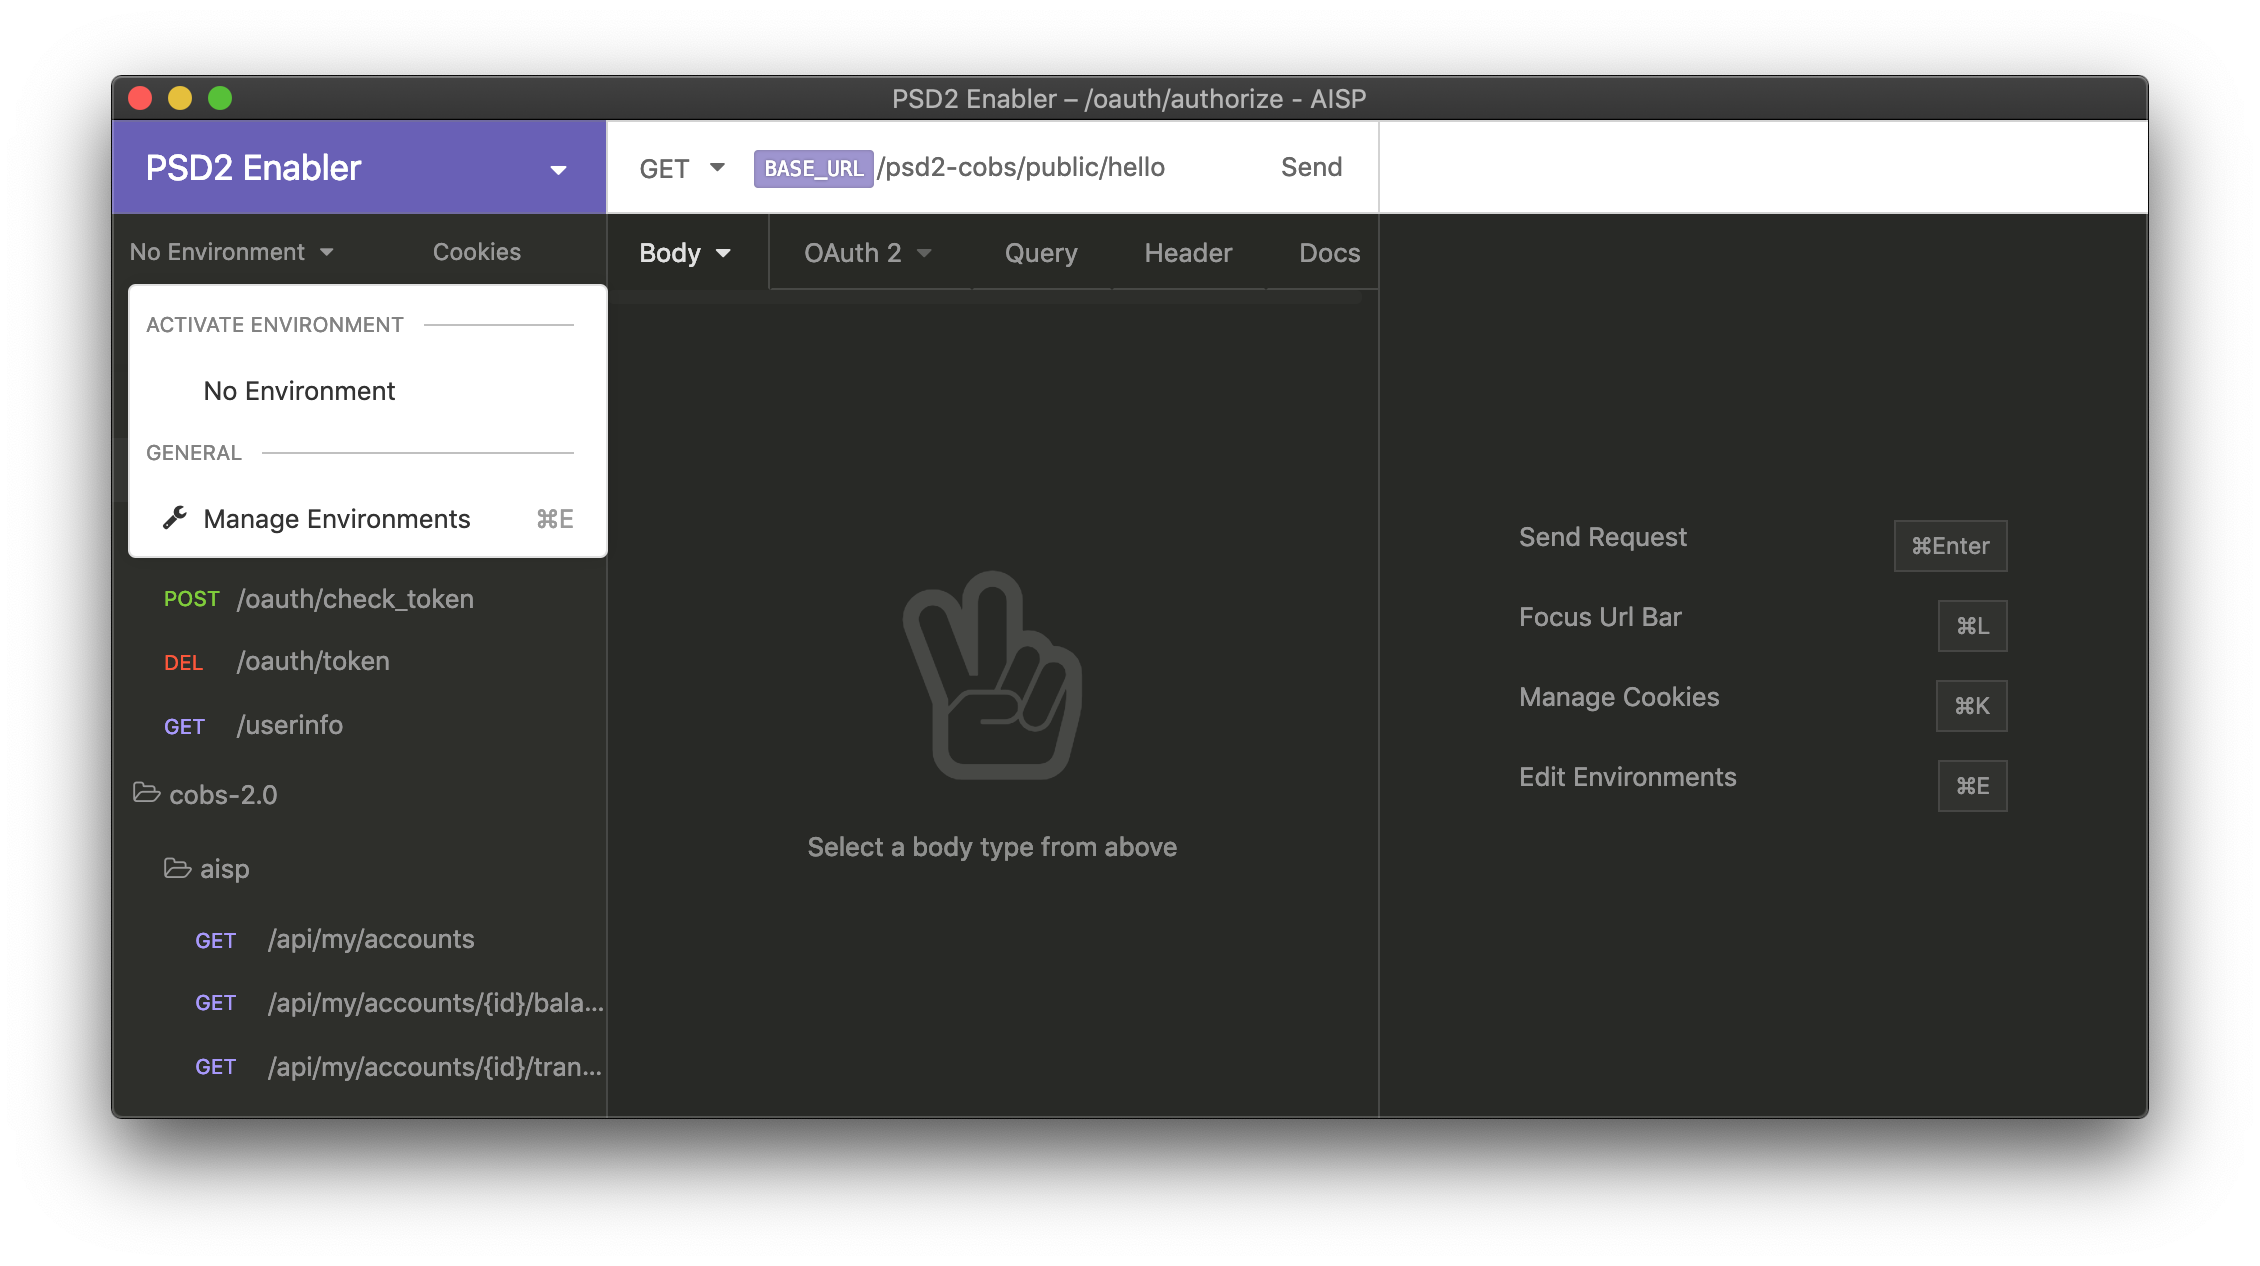
Environment management menu in Insomnia.
- Edit the defaults so that they contain the correct OAuth 2.0 parameters of an application you created earlier:
OAUTH_CLIENT_ID,OAUTH_CLIENT_SECRETandOAUTH_REDIRECT_URI.
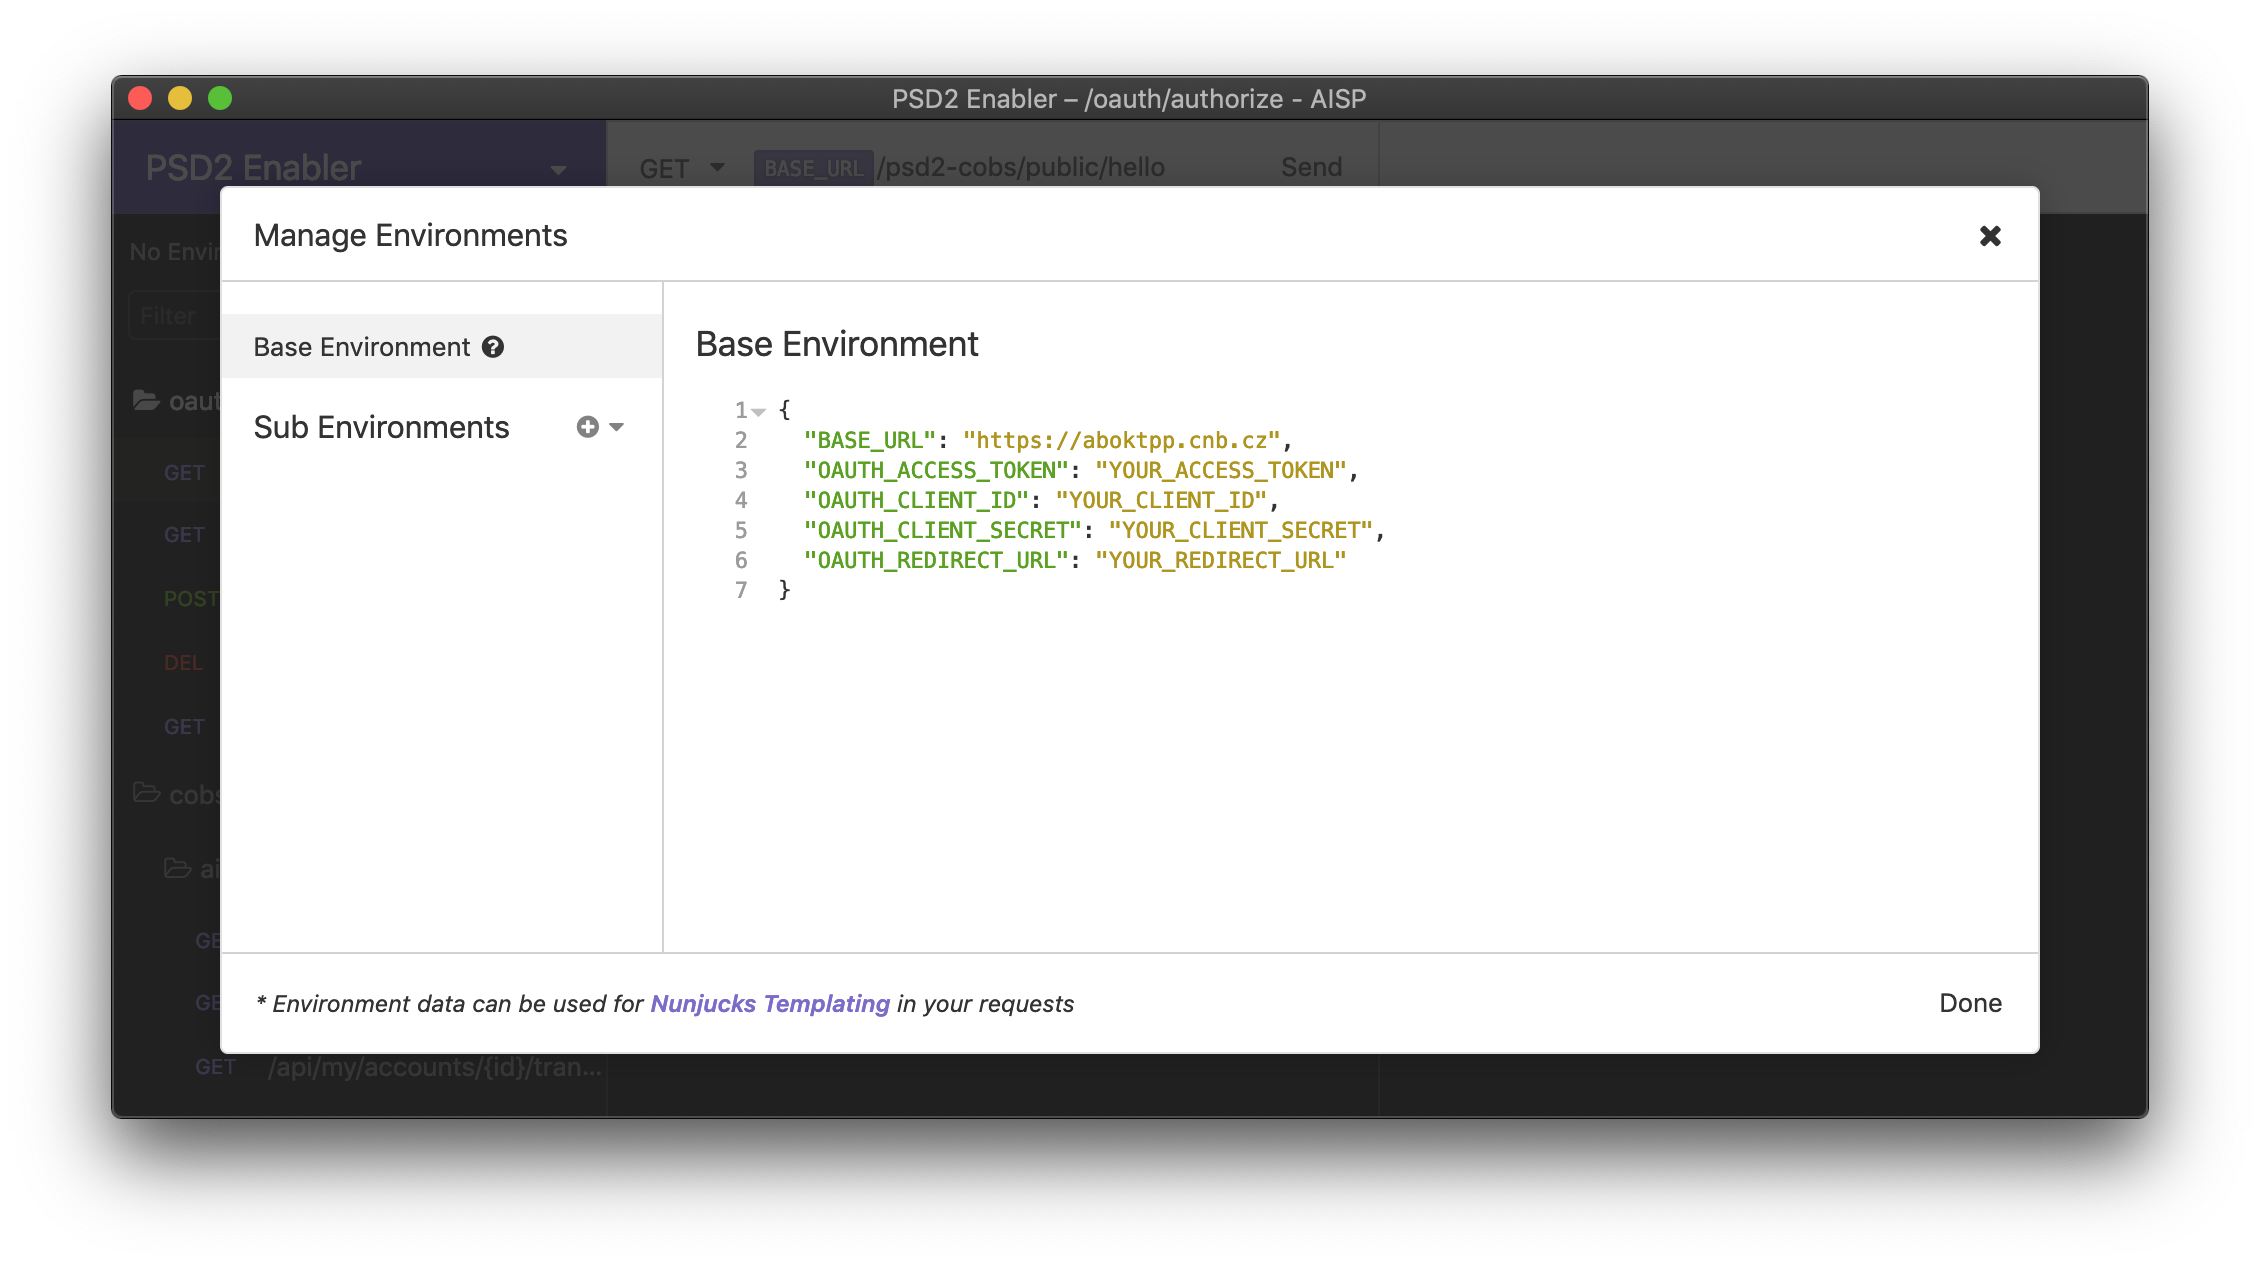
OAuth 2.0 environment setup.
Obtaining Access Token After User Authentication
After you configured the OAuth 2.0 client credentials, you may proceed with the user authentication and obtaining the OAuth 2.0 access token, which can be later used to fetch various protected resources.
- First, you need to select one of the two helper resources we prepared. For Account Infomation Service, select:
/oauth/authorize - AISP. For Payment Initiation Service, select/oauth/authorize - PISP. Then, select the "OAuth 2" tab in the main pane.
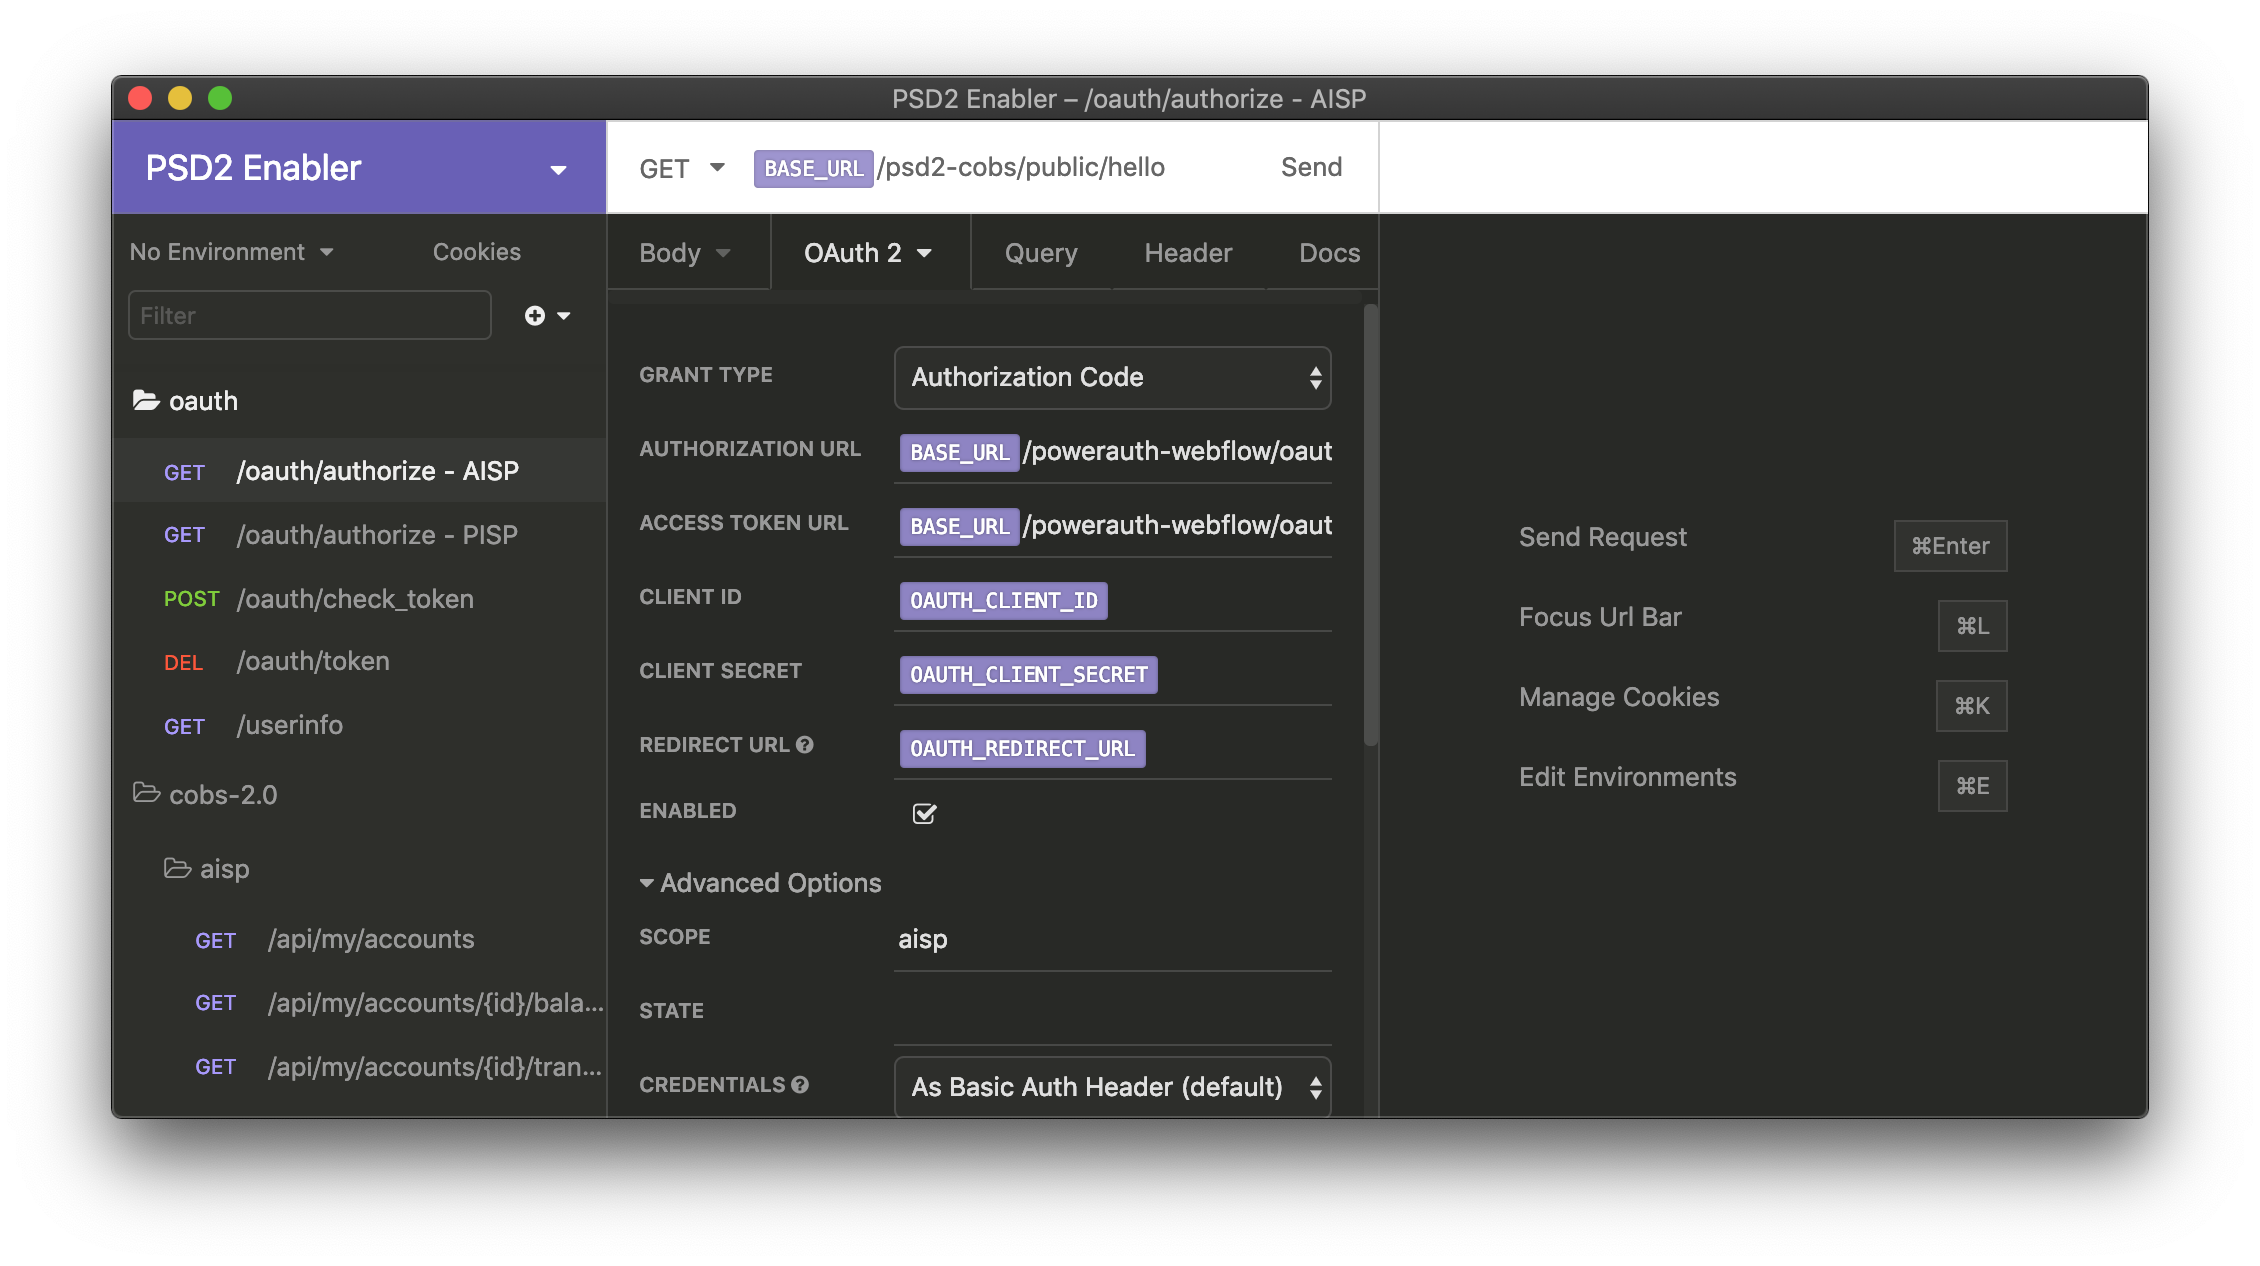
Select the OAuth 2.0 helper method and "OAuth 2" tab afterwards.
- Scroll the middle pane down so that you can see the "Fetch Tokens" button. Click this button to initiate OAuth 2.0 dance.
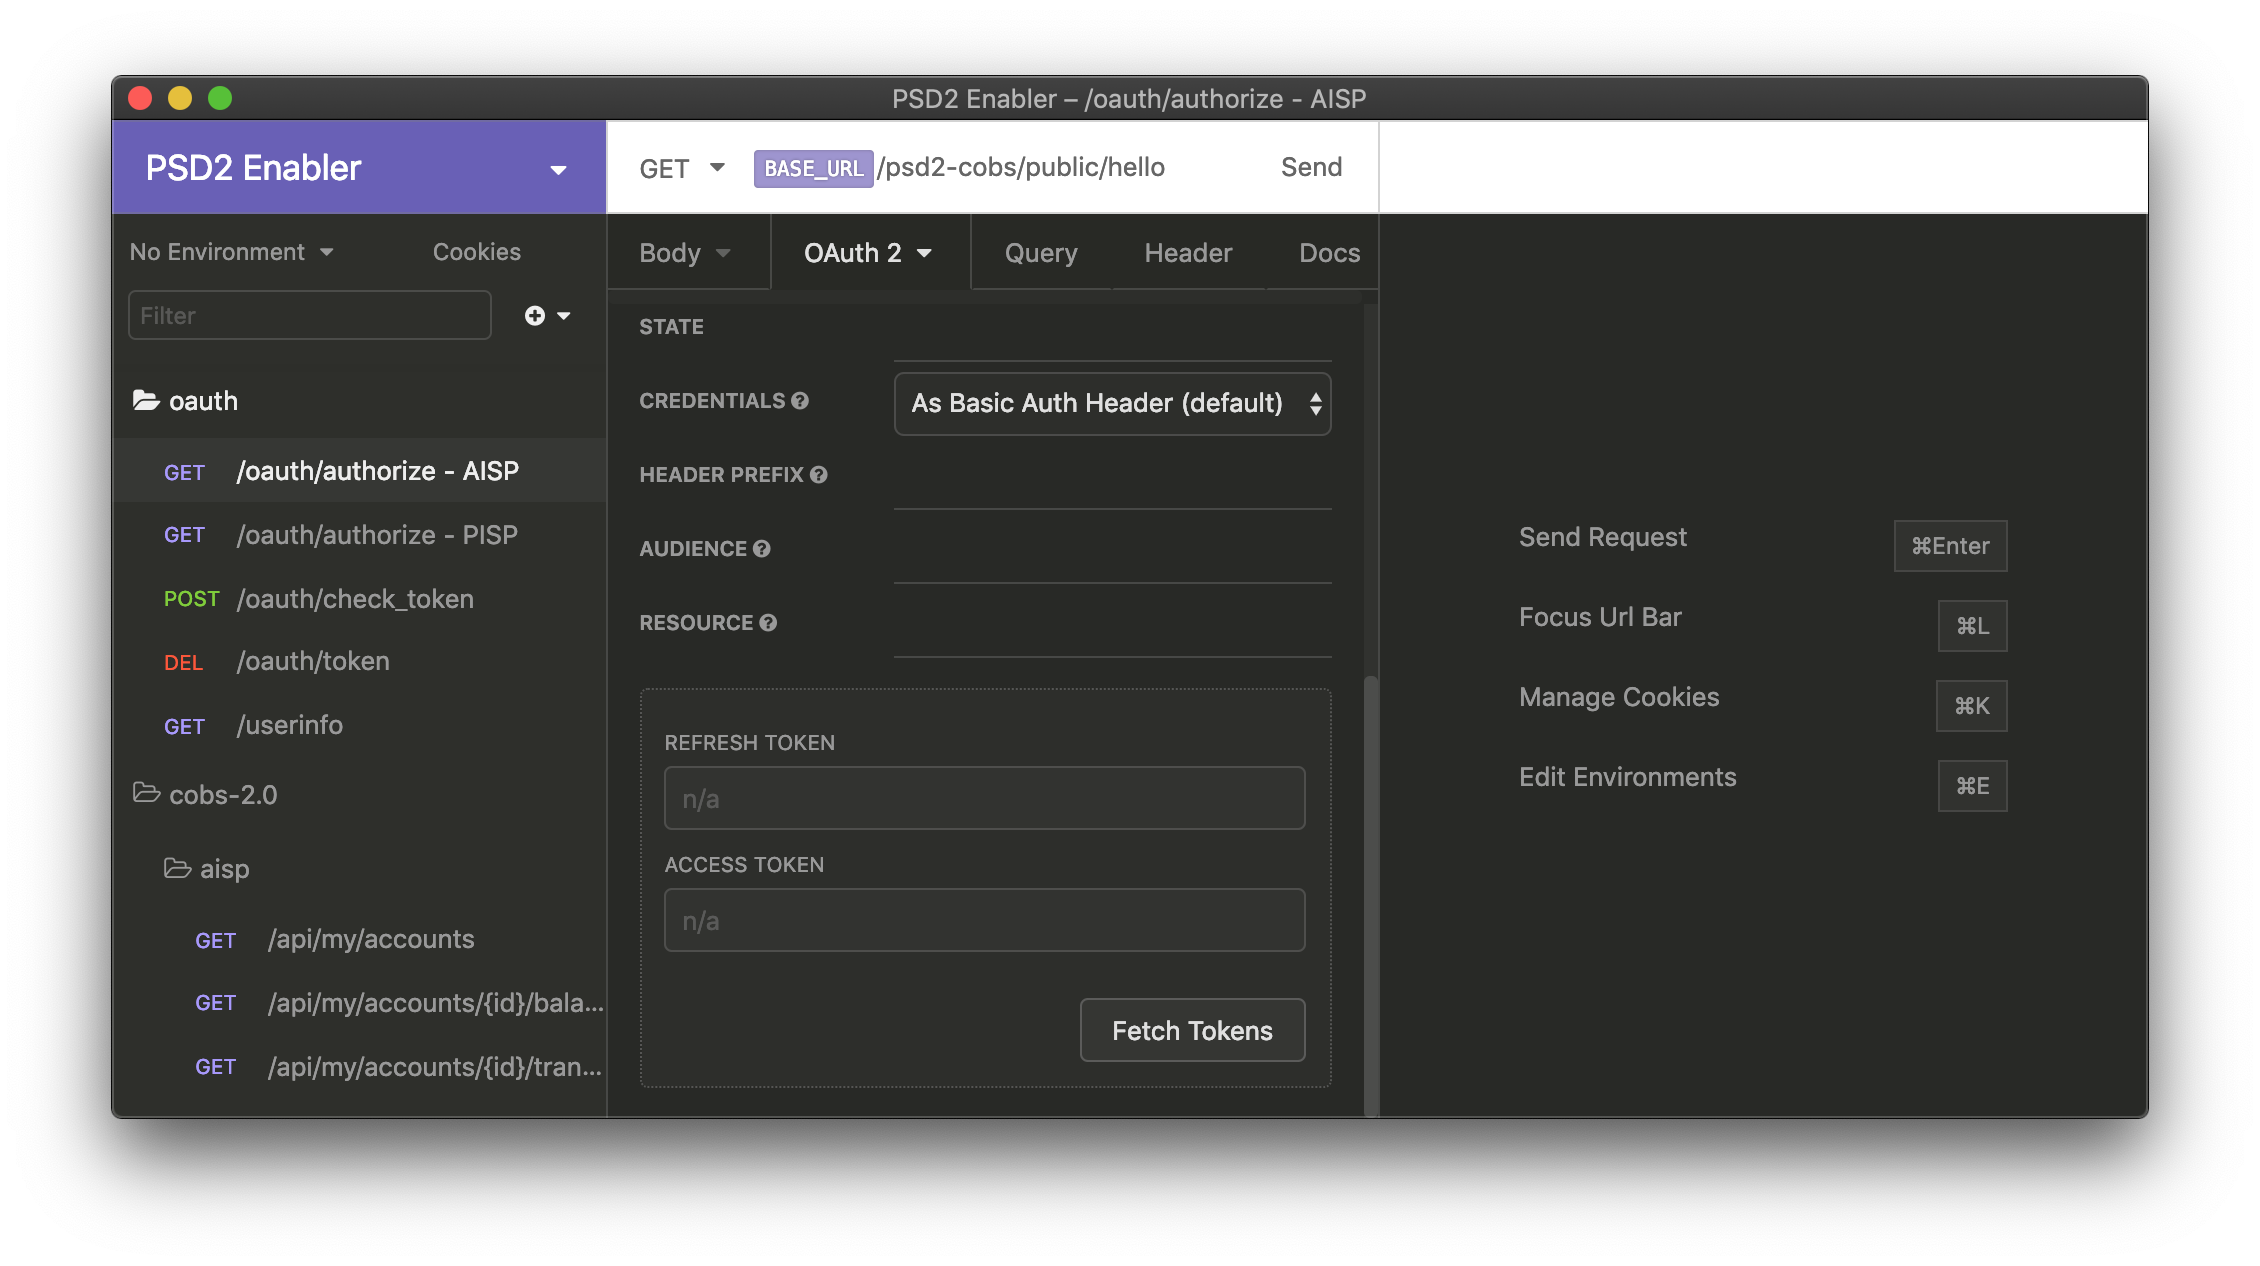
"Fetch Tokens" button in "OAuth 2" pane.
- An authentication window will pop out in the context of Insomnia. A user with account at CNB must proceed with the authentication steps to finalize the process before a token can be issued.
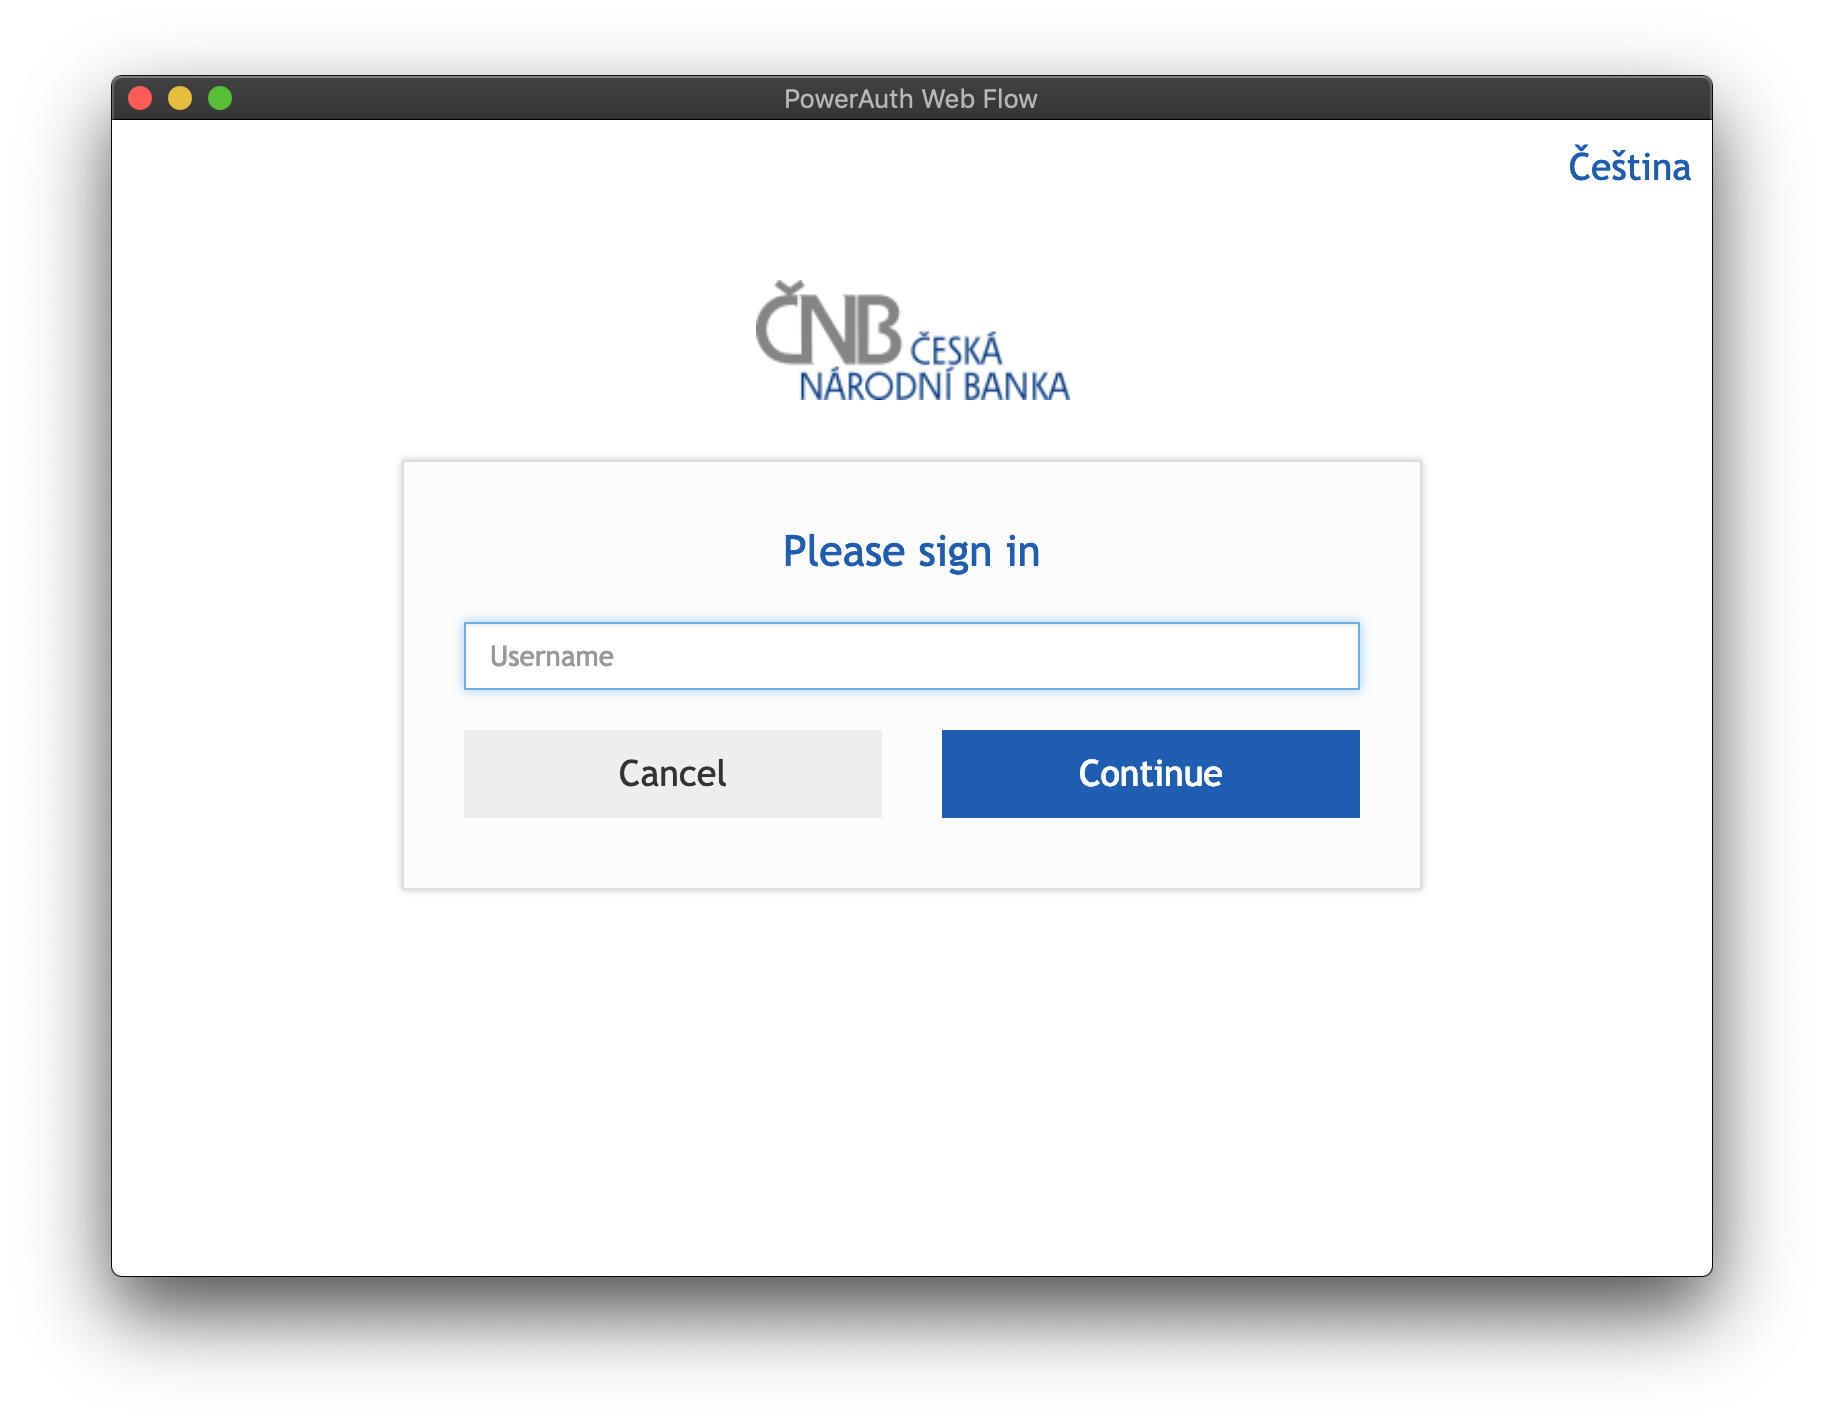
Web user interface for OAuth 2.0 dance.
- Wait until Insomnia fetches the OAuth 2.0 access token.
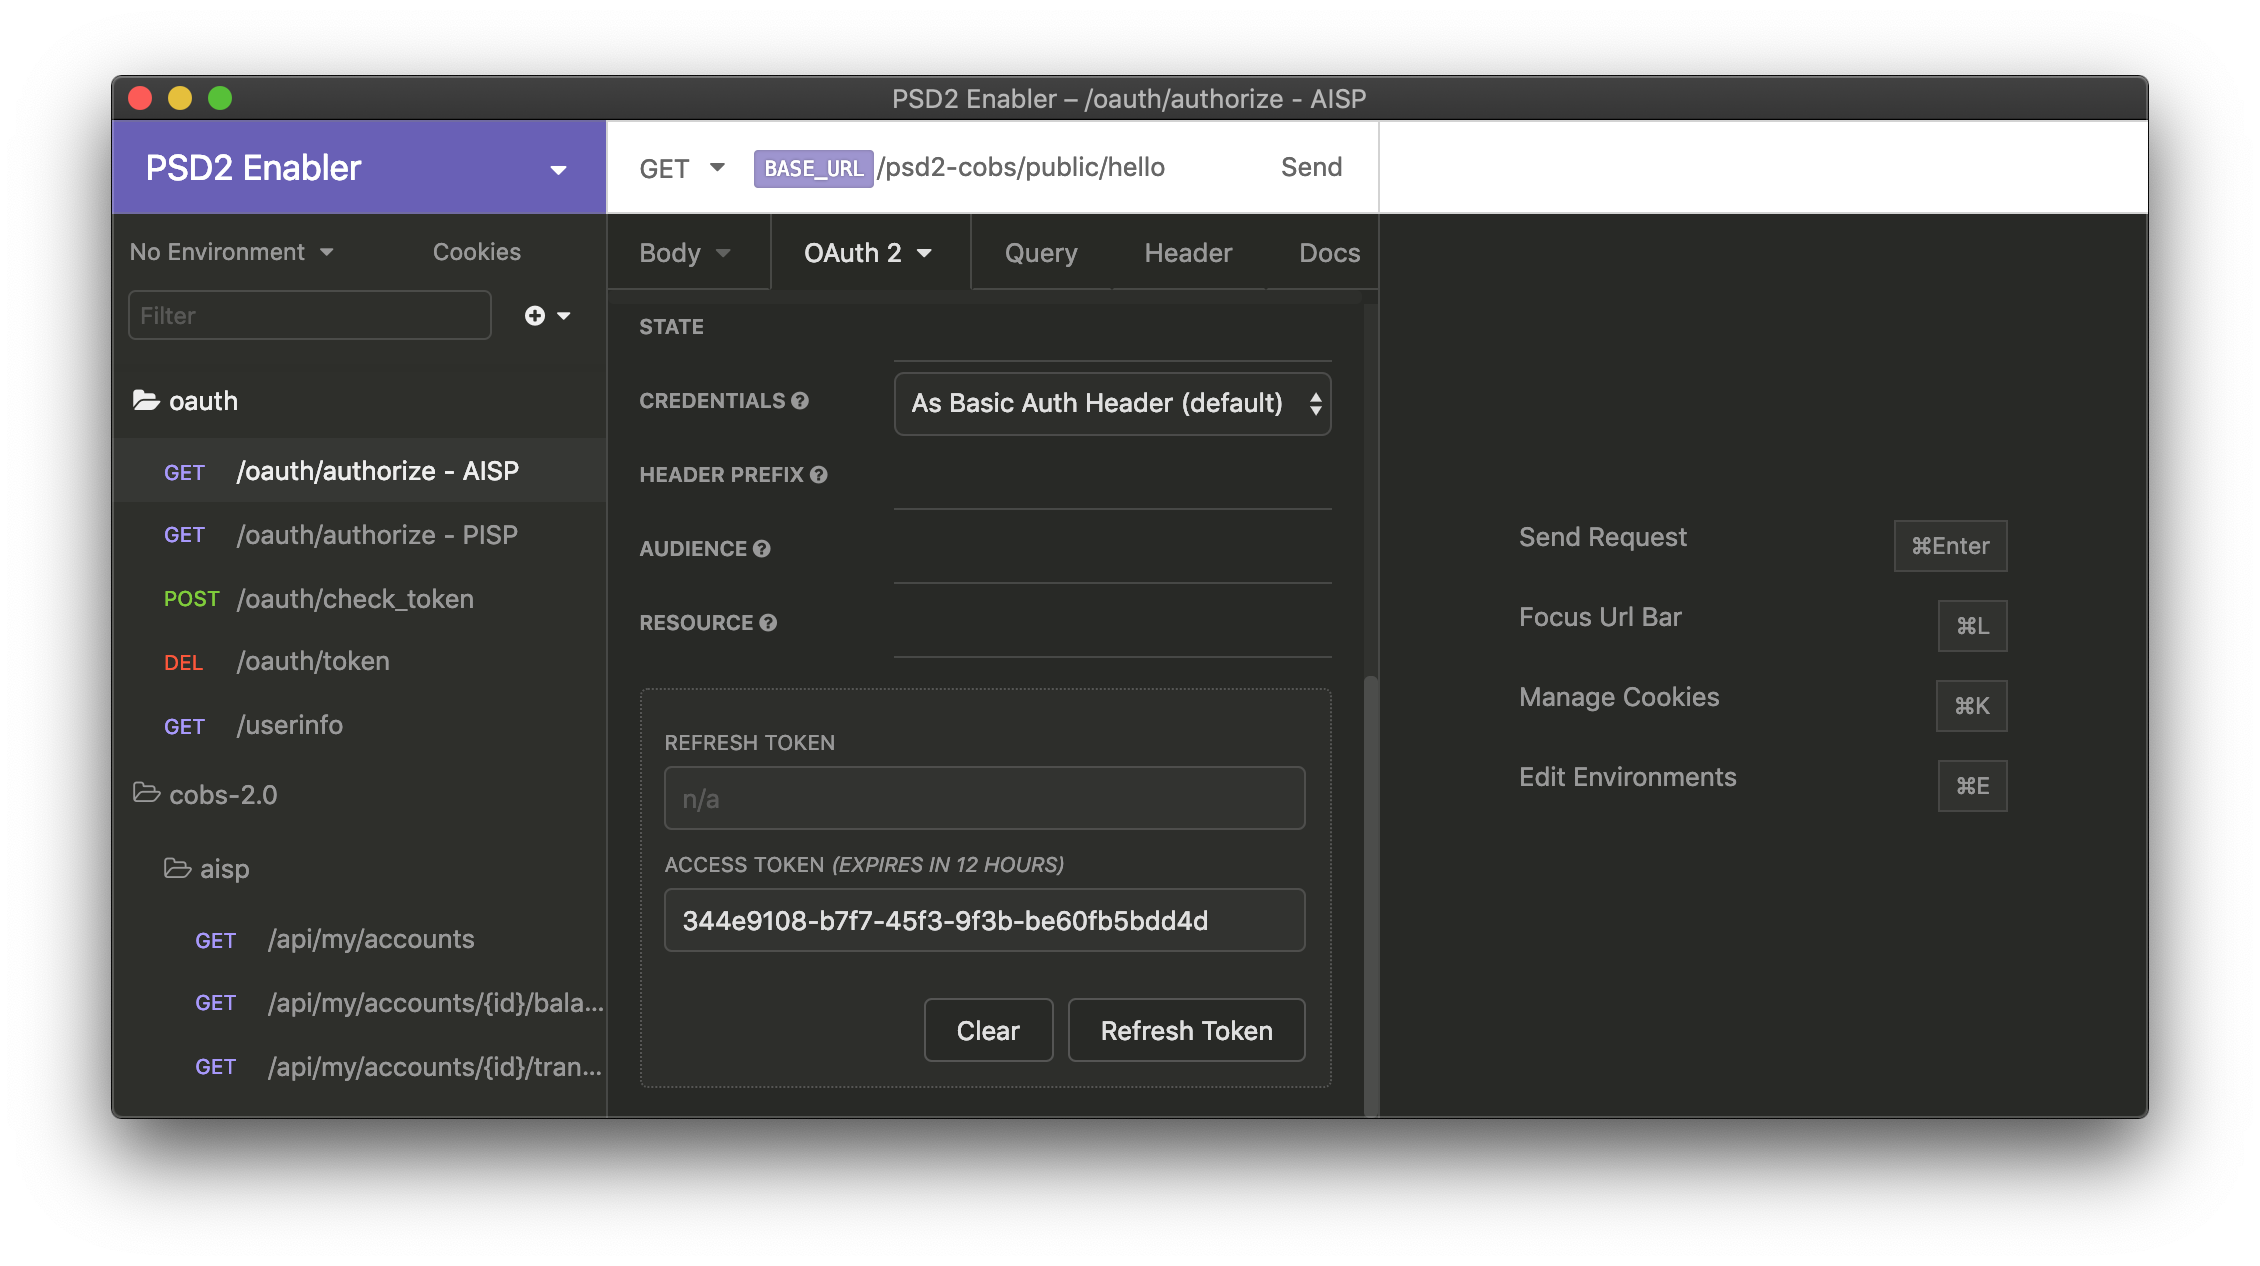
Insomnia client with just issued OAuth 2.0 access token.
Configure OAuth 2.0 Access Token
After you obtain the access token, you can finally finish the OAuth 2.0 configuration by setting the OAUTH_ACCESS_TOKEN property in your environment. In case you installed the insomnia-plugin-accesstoken earlier, you do not need to do anything - the value of the token is automatically inserted into the environmental variable.
Otherwise, you can always override the access token value manually by following these steps:
- In the upper left corner, click the arrow next to the "No Environment" link and select "Manage Environment".
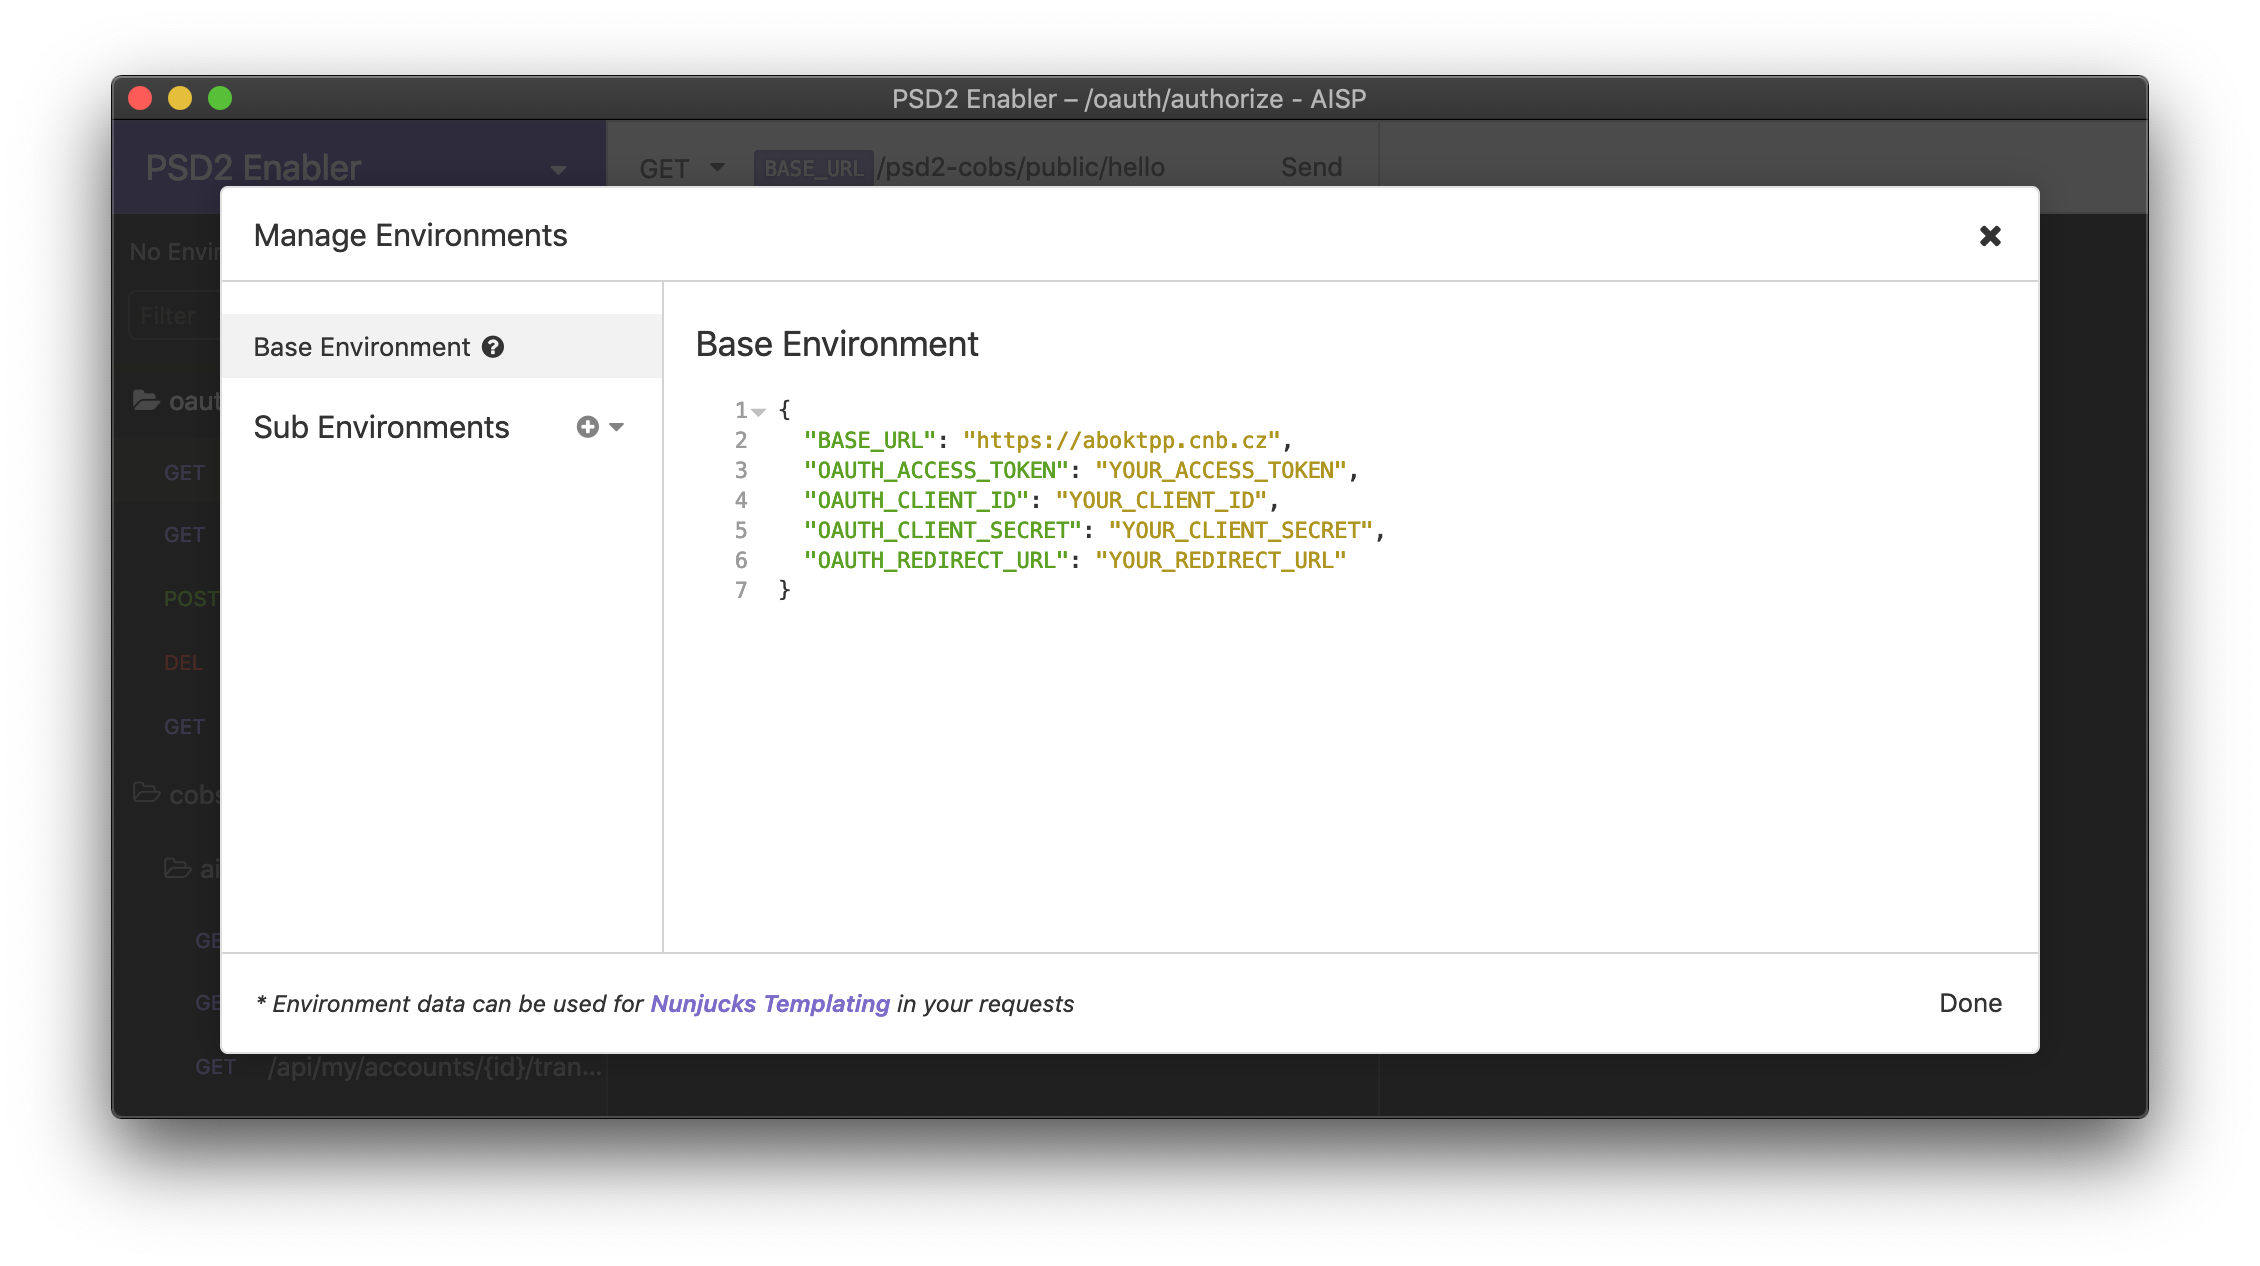
- Edit the defaults so that they contain the correct OAuth 2.0 access token:
OAUTH_ACCESS_TOKEN.
Updated 11 months ago
