Customize Configuration
Import Default Configuration
To make bootstrapping easier, you can import our default configuration template.
- Launch Insomnia application.
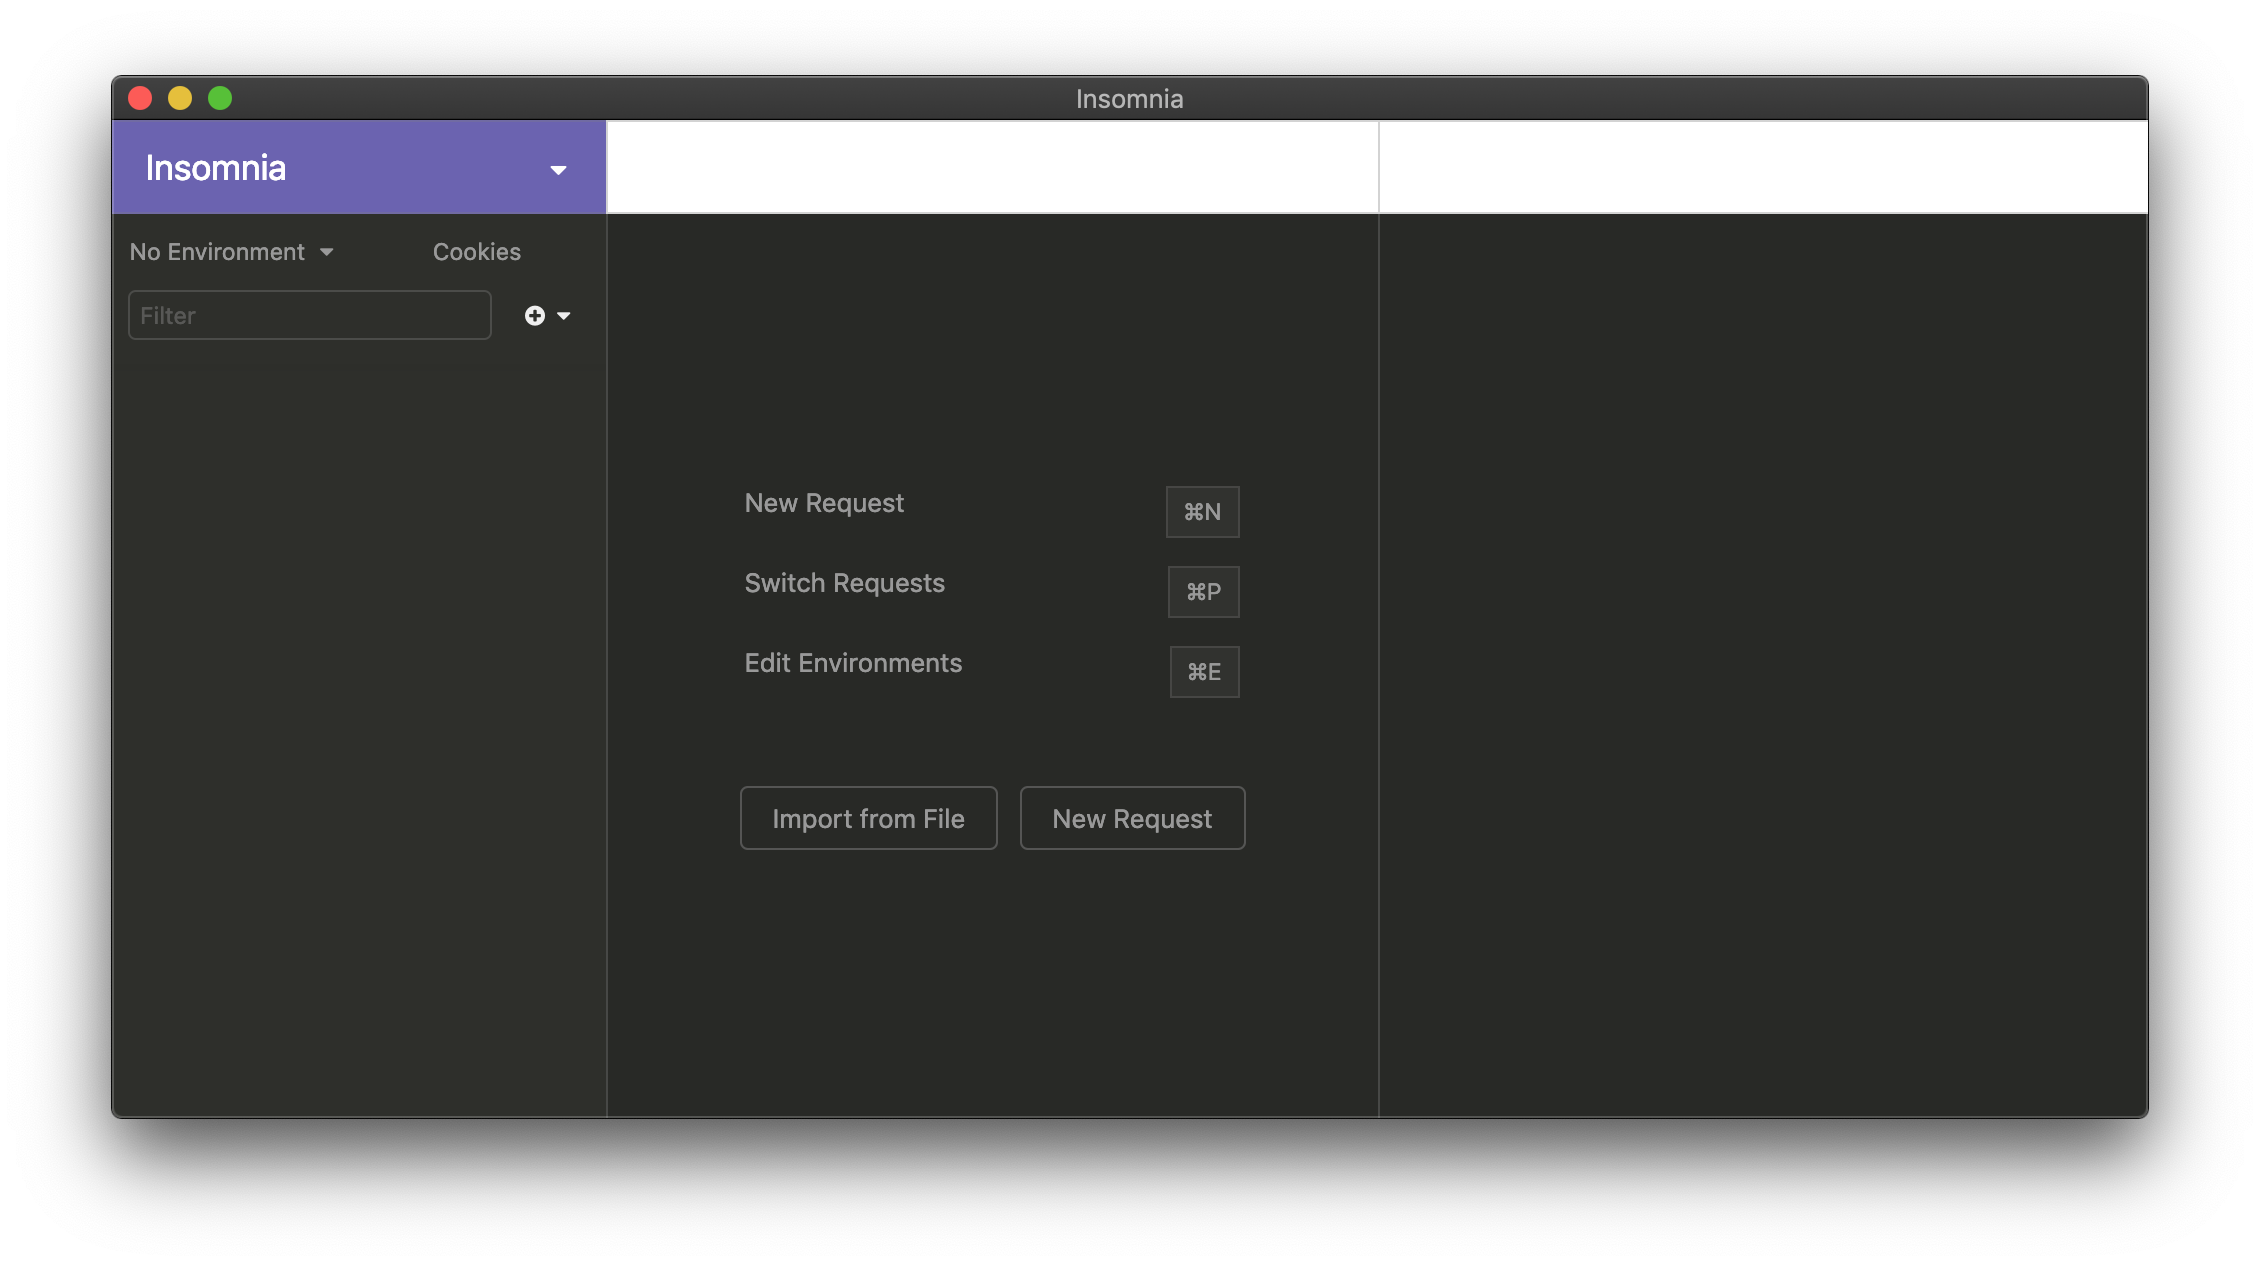
Empty Insomnia UI right after install.
- Click the arrow icon in the purple area in the upper left corner and select the "Import / Export" option from the menu.
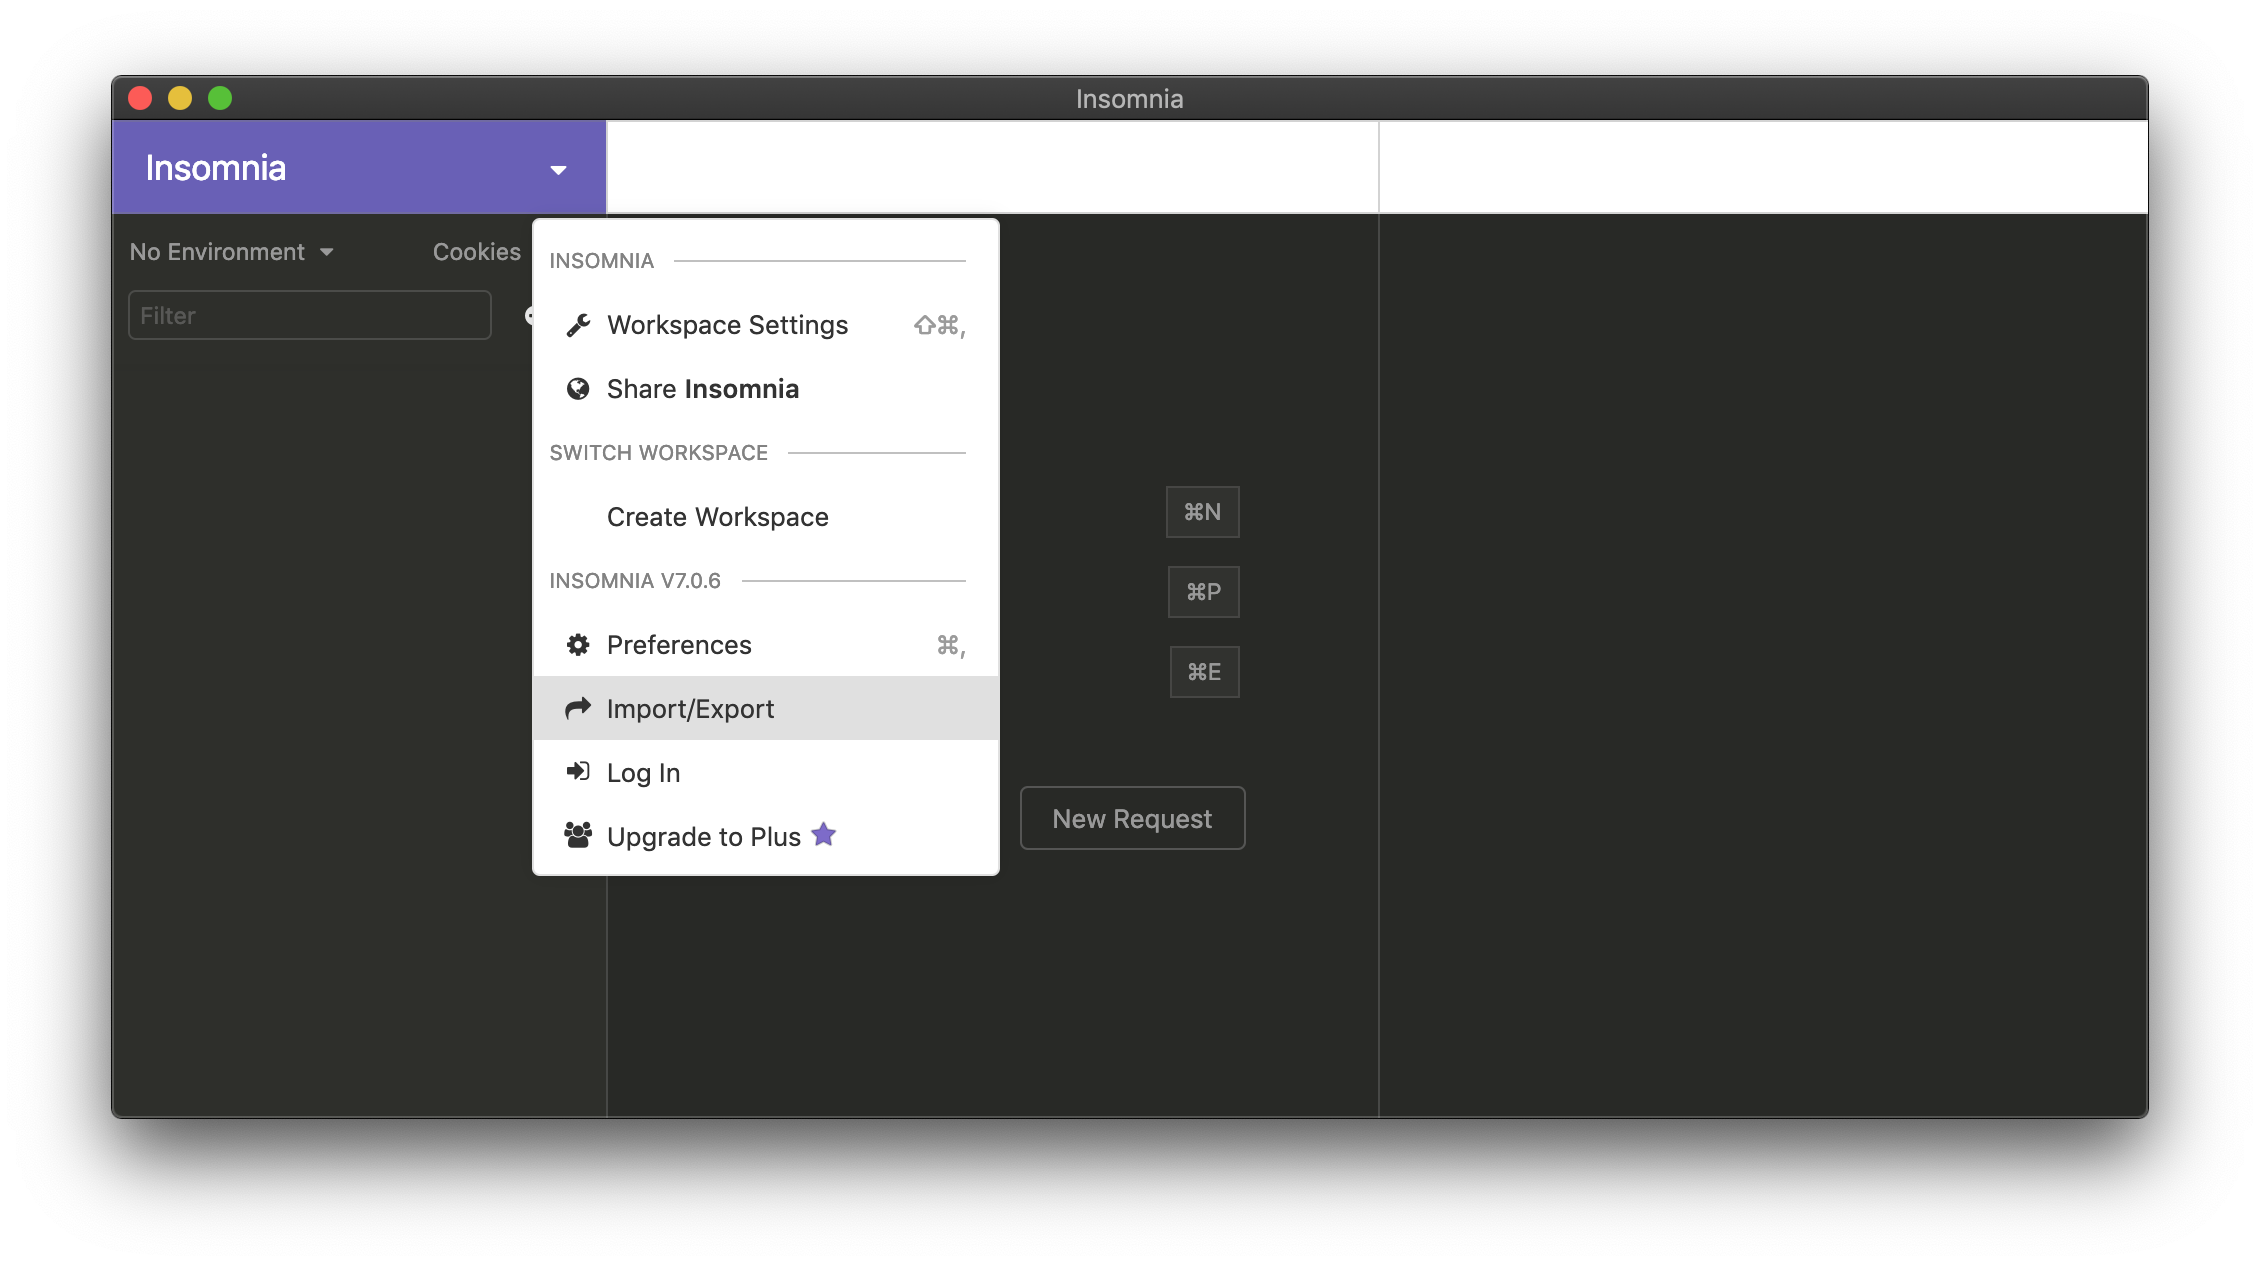
Menu with Insomnia Workspace settings.
- In the "Data" tab, select the "Import Data" option and chose "From File".
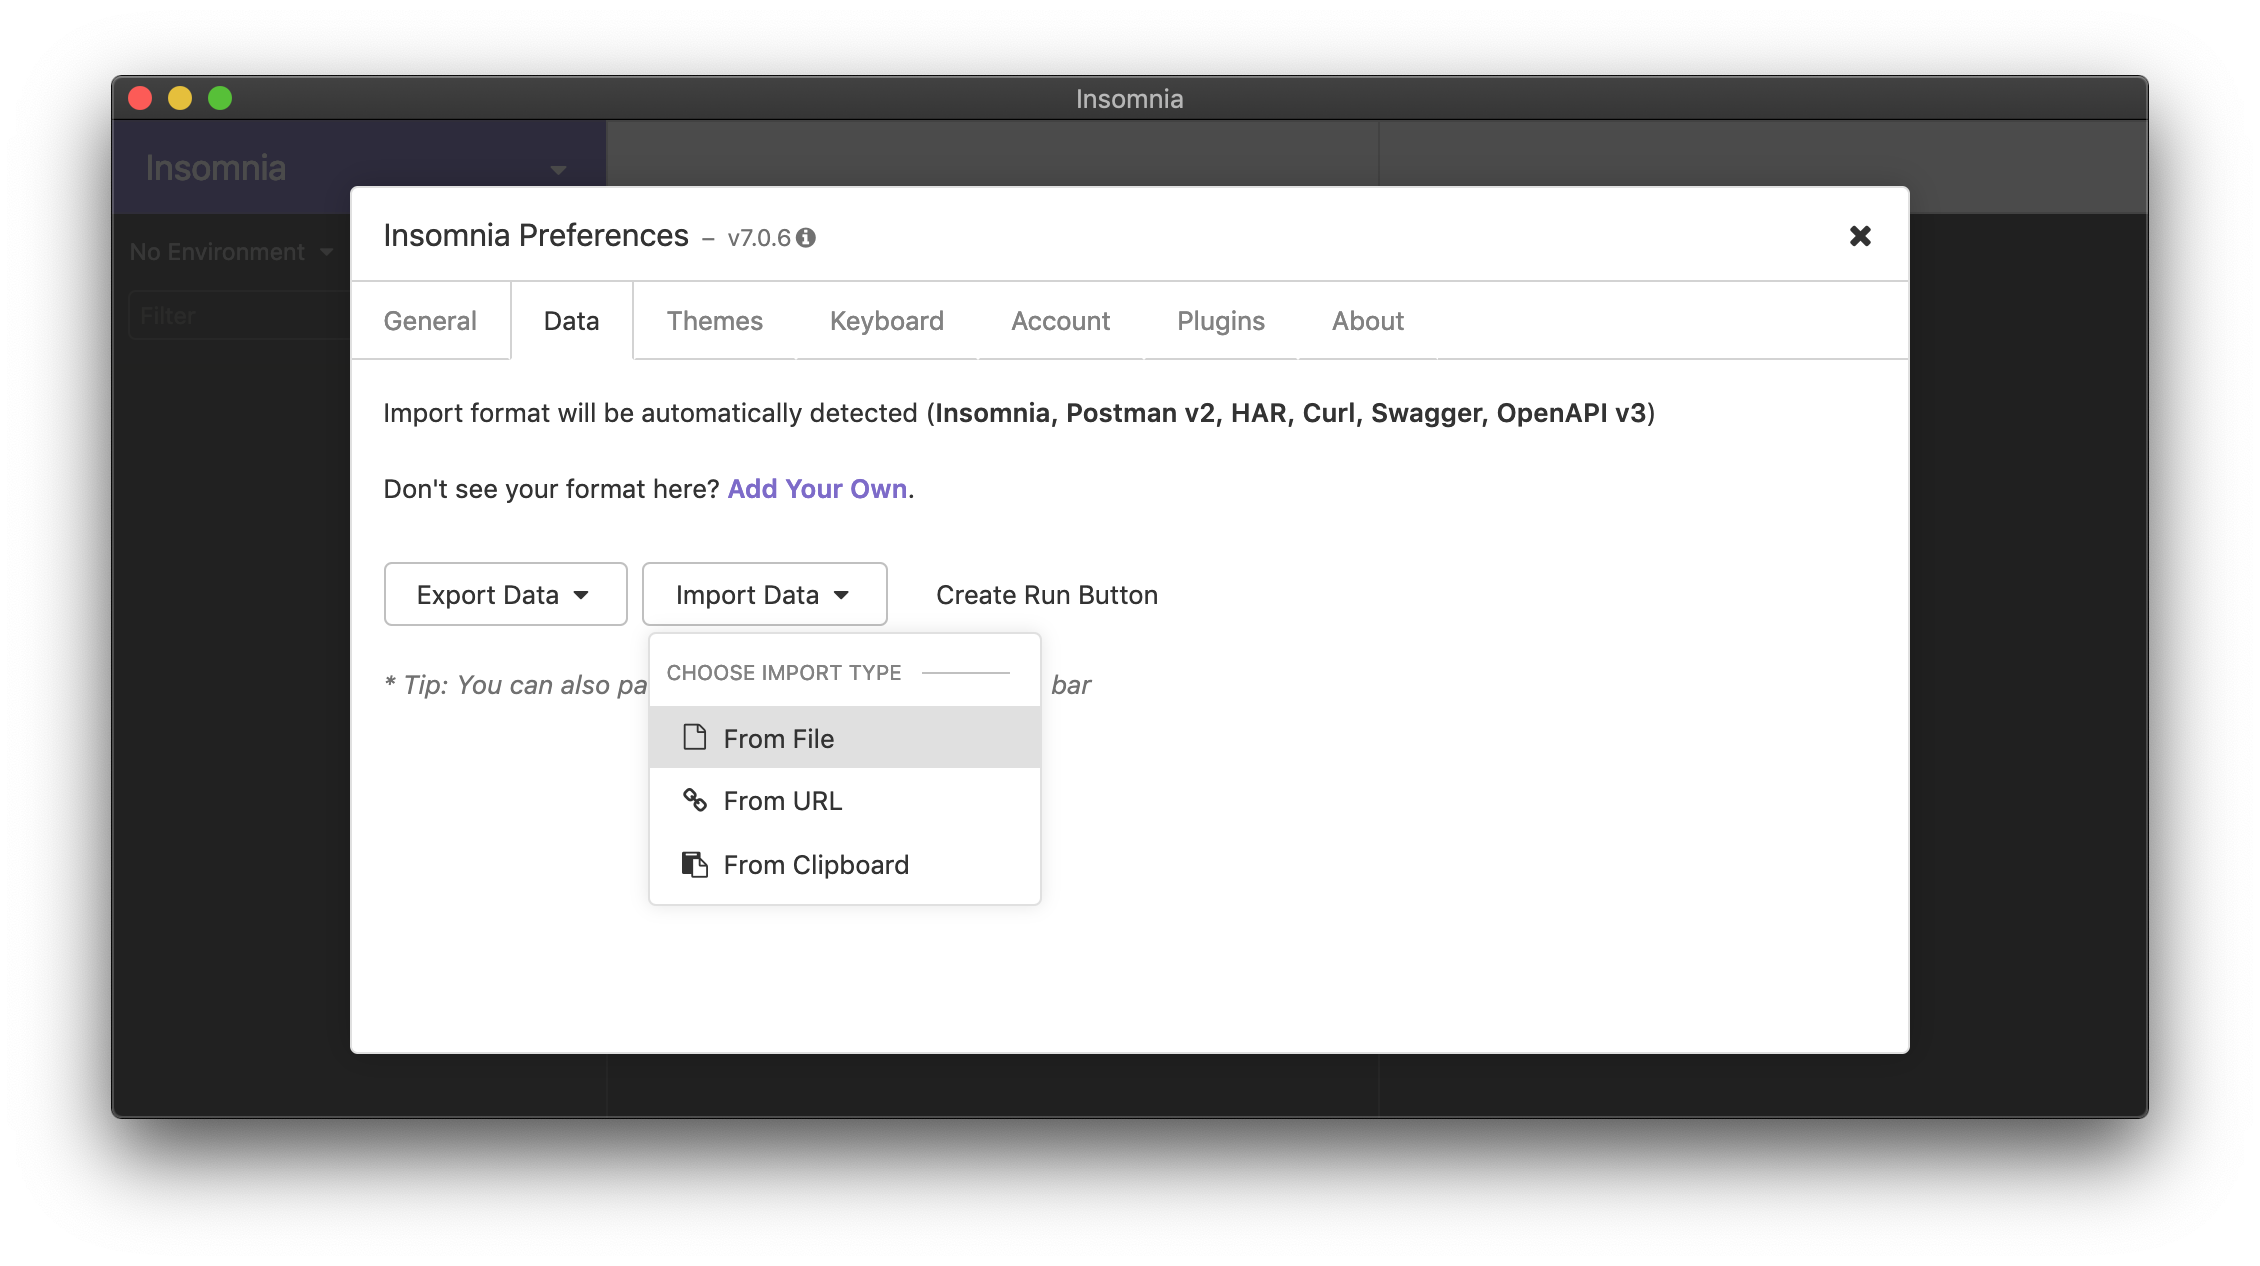
Importing Insomnia configuration from file.
- Download the insomnia-config.json with the default configuration and select it in the file picker.
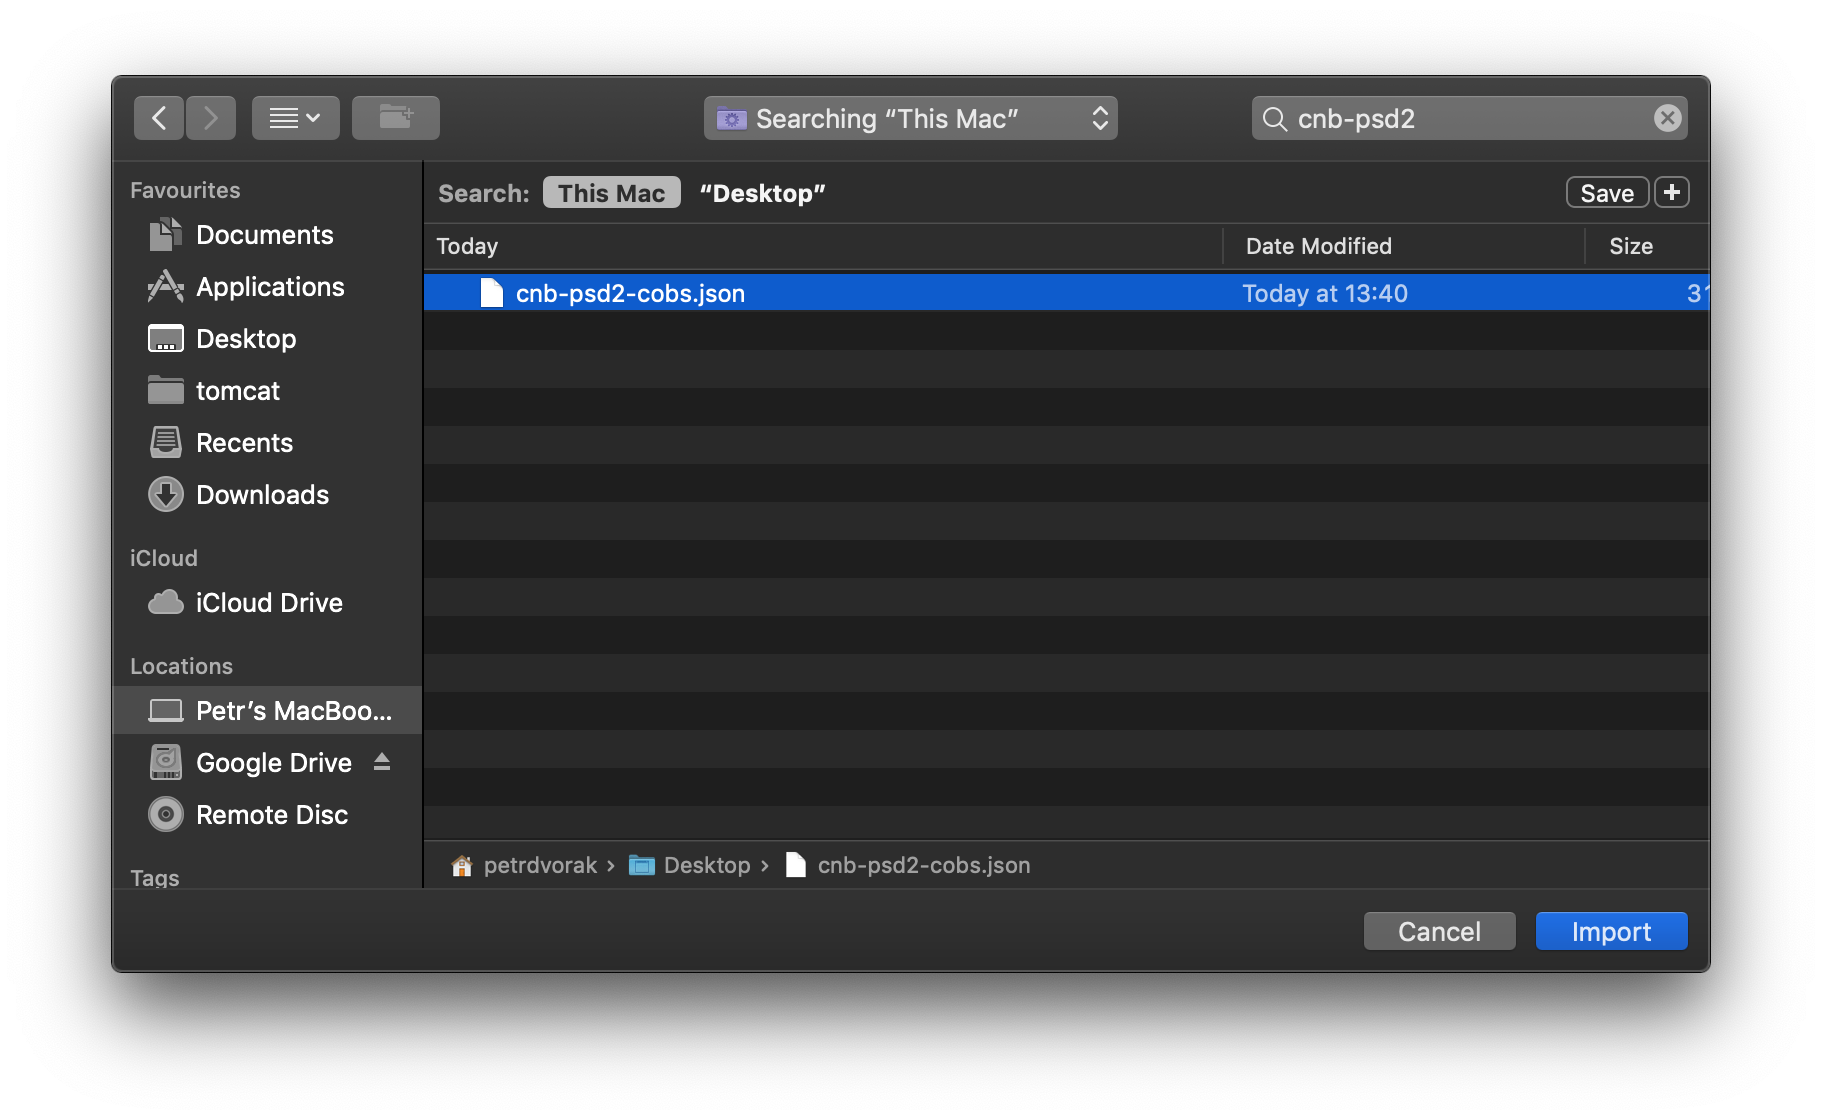
Selecting the default Insomnia configuration file.
- Review newly imported APIs in the left column. They are located in a newly created "PSD2 Enabler" workspace. You may need to expand the folder nodes to see the resources.
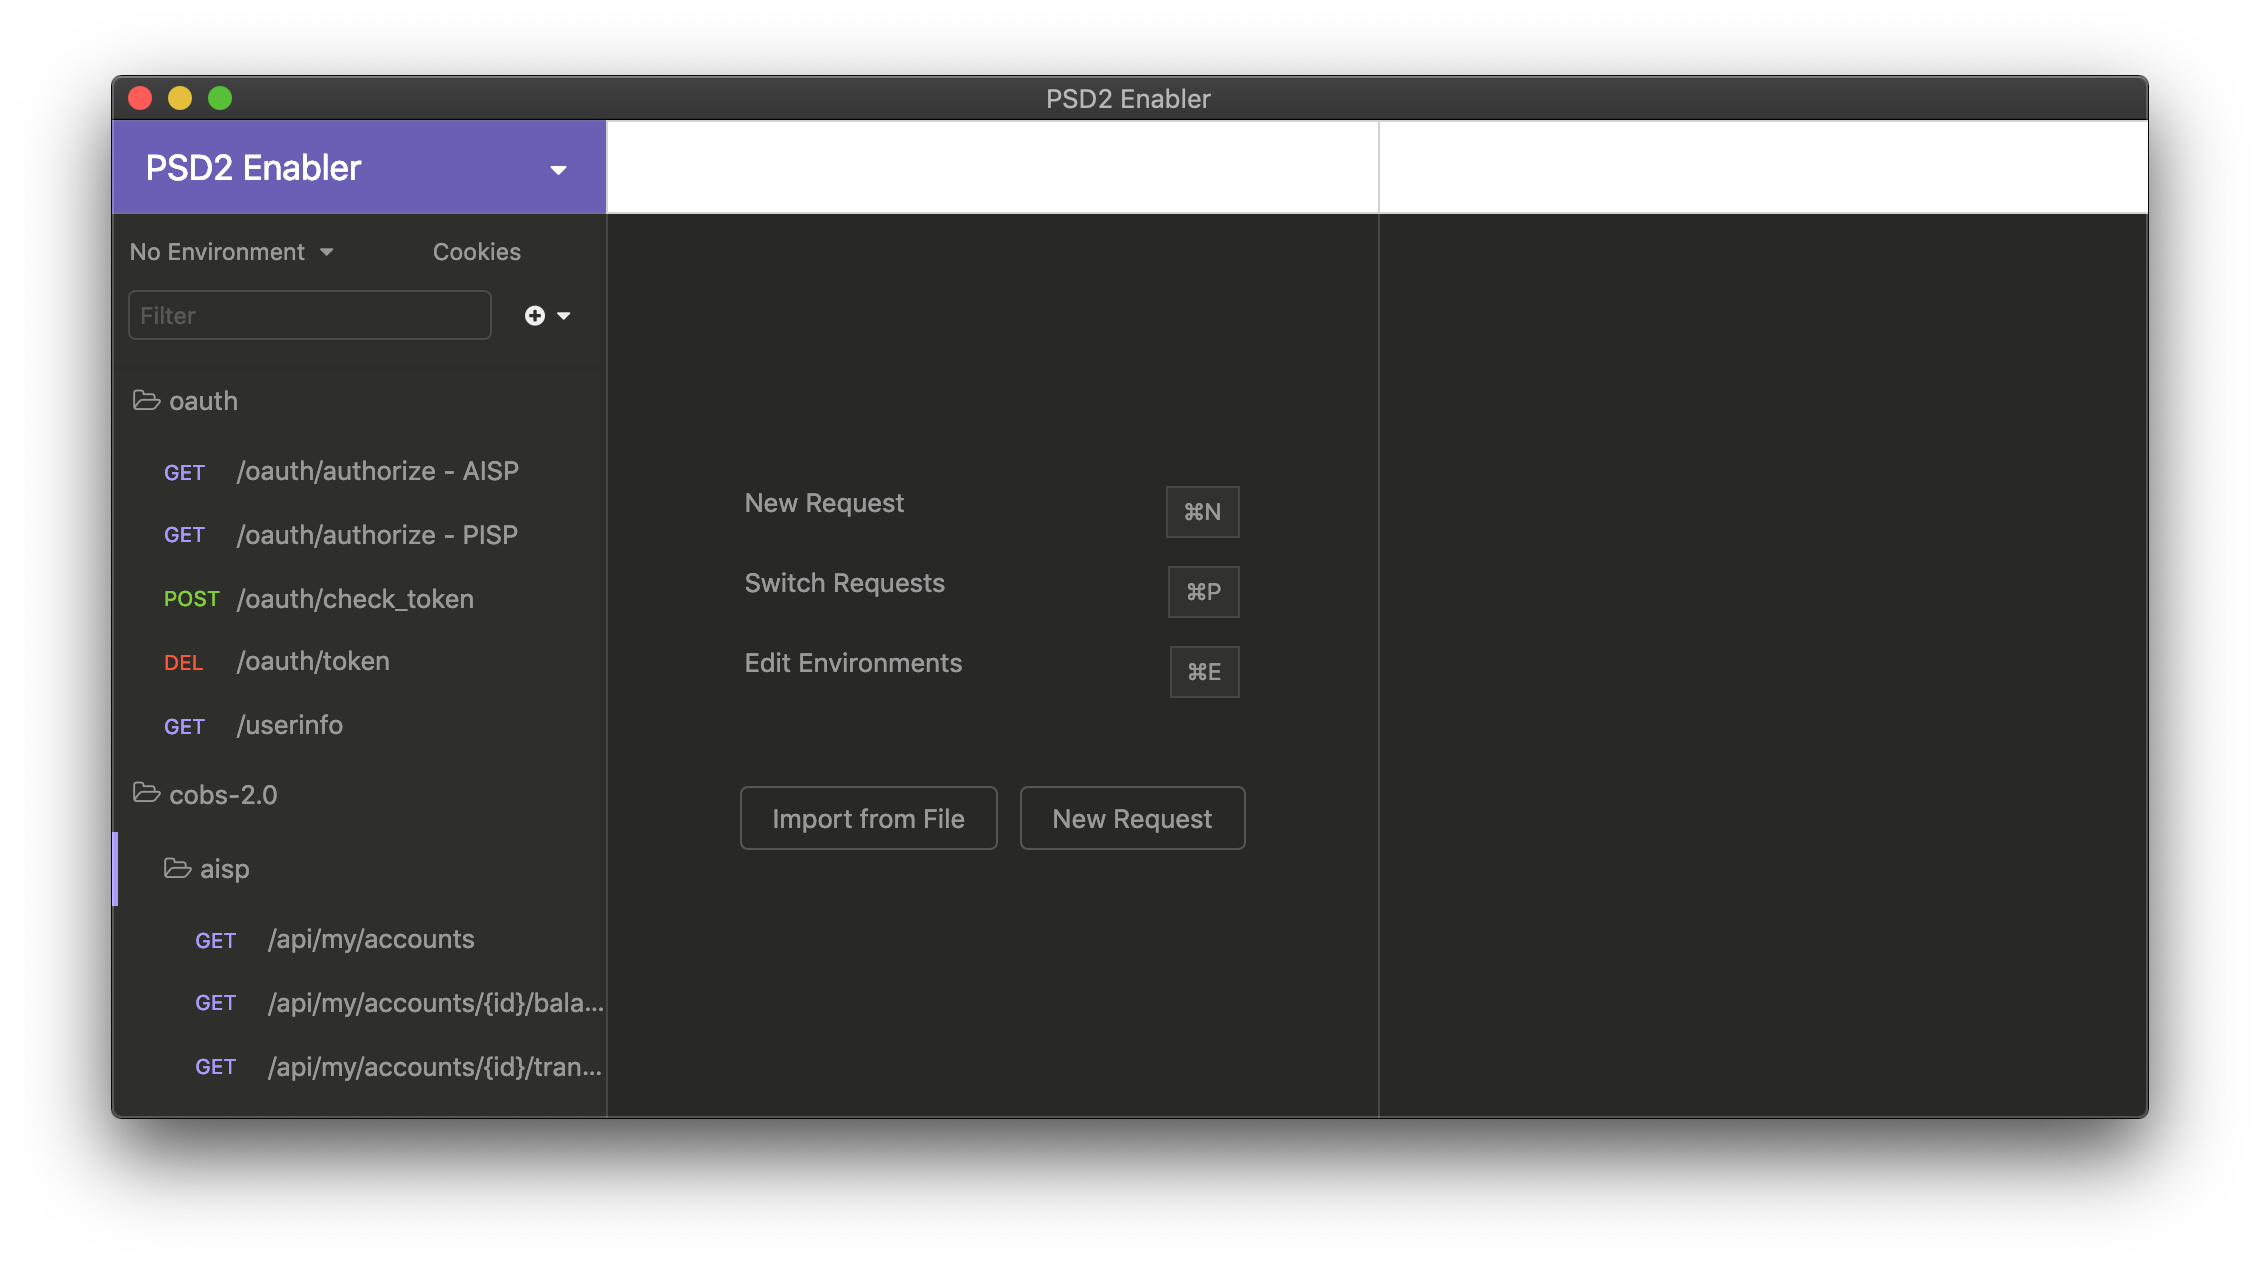
Insomnia with default configuration imported.
Configure Your PSD2 Certificate
Before you can call any of our APIs, you need to configure the TLS/SSL certificate authentication for all services. To do that, you need to install the certificate on your system (for example, in System Keychain) and also configure it in Insomnia.
- Open the "Workspace Settings" by clicking the arrow in the purple area in the upper left corner and selecting the "Workspace Settings" item in the menu.
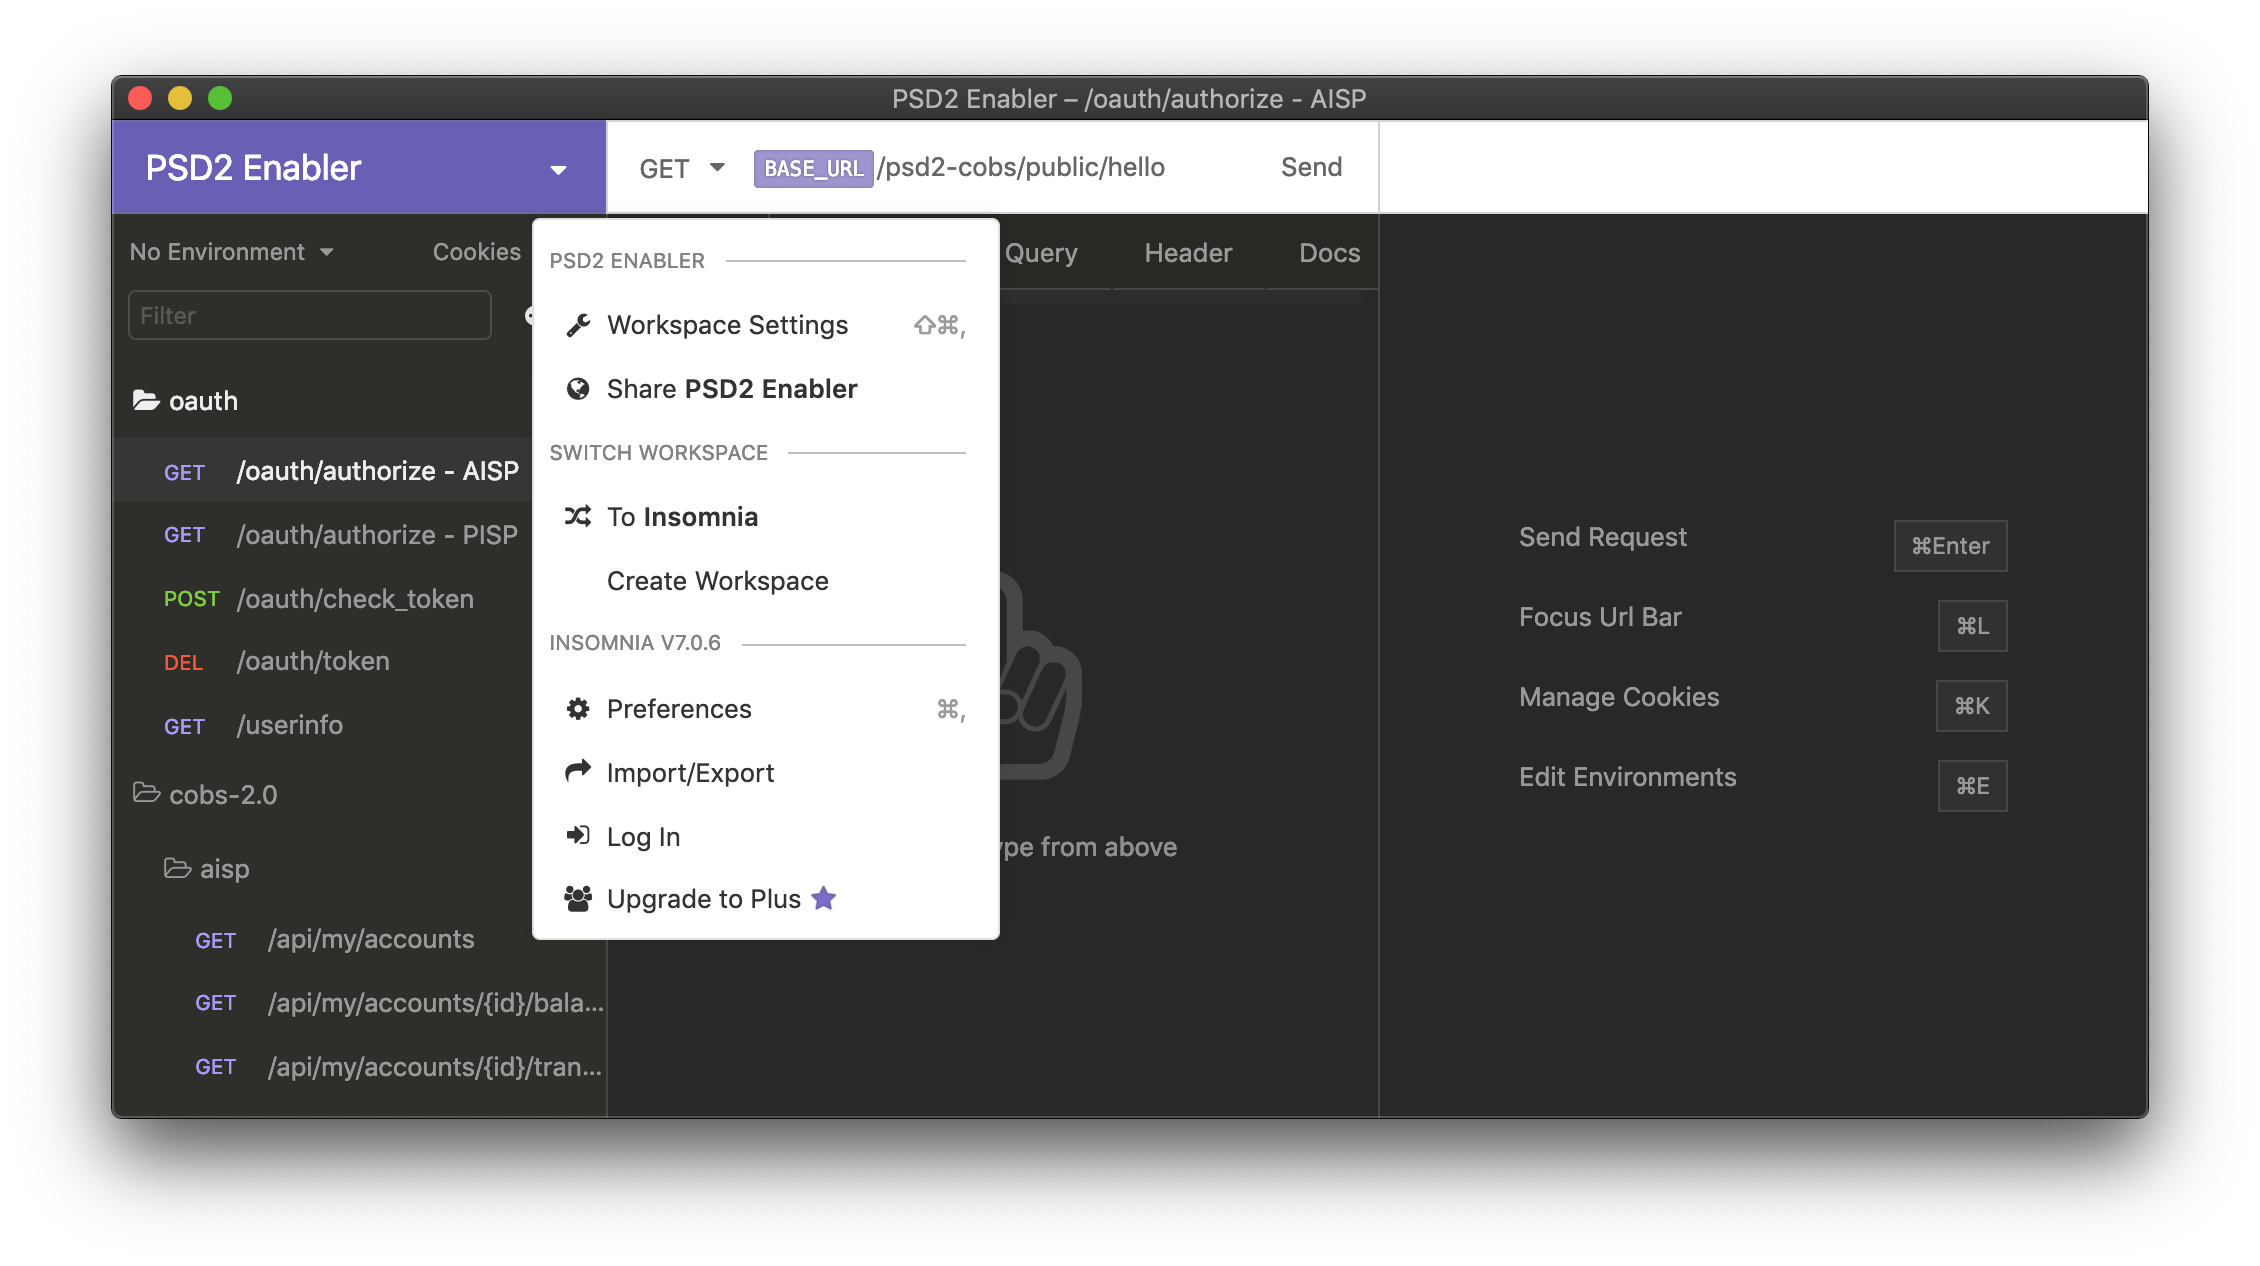
Workspace menu with Workspace Settings item.
- In "Workspace Settings" window, click the "New Certificate" button.
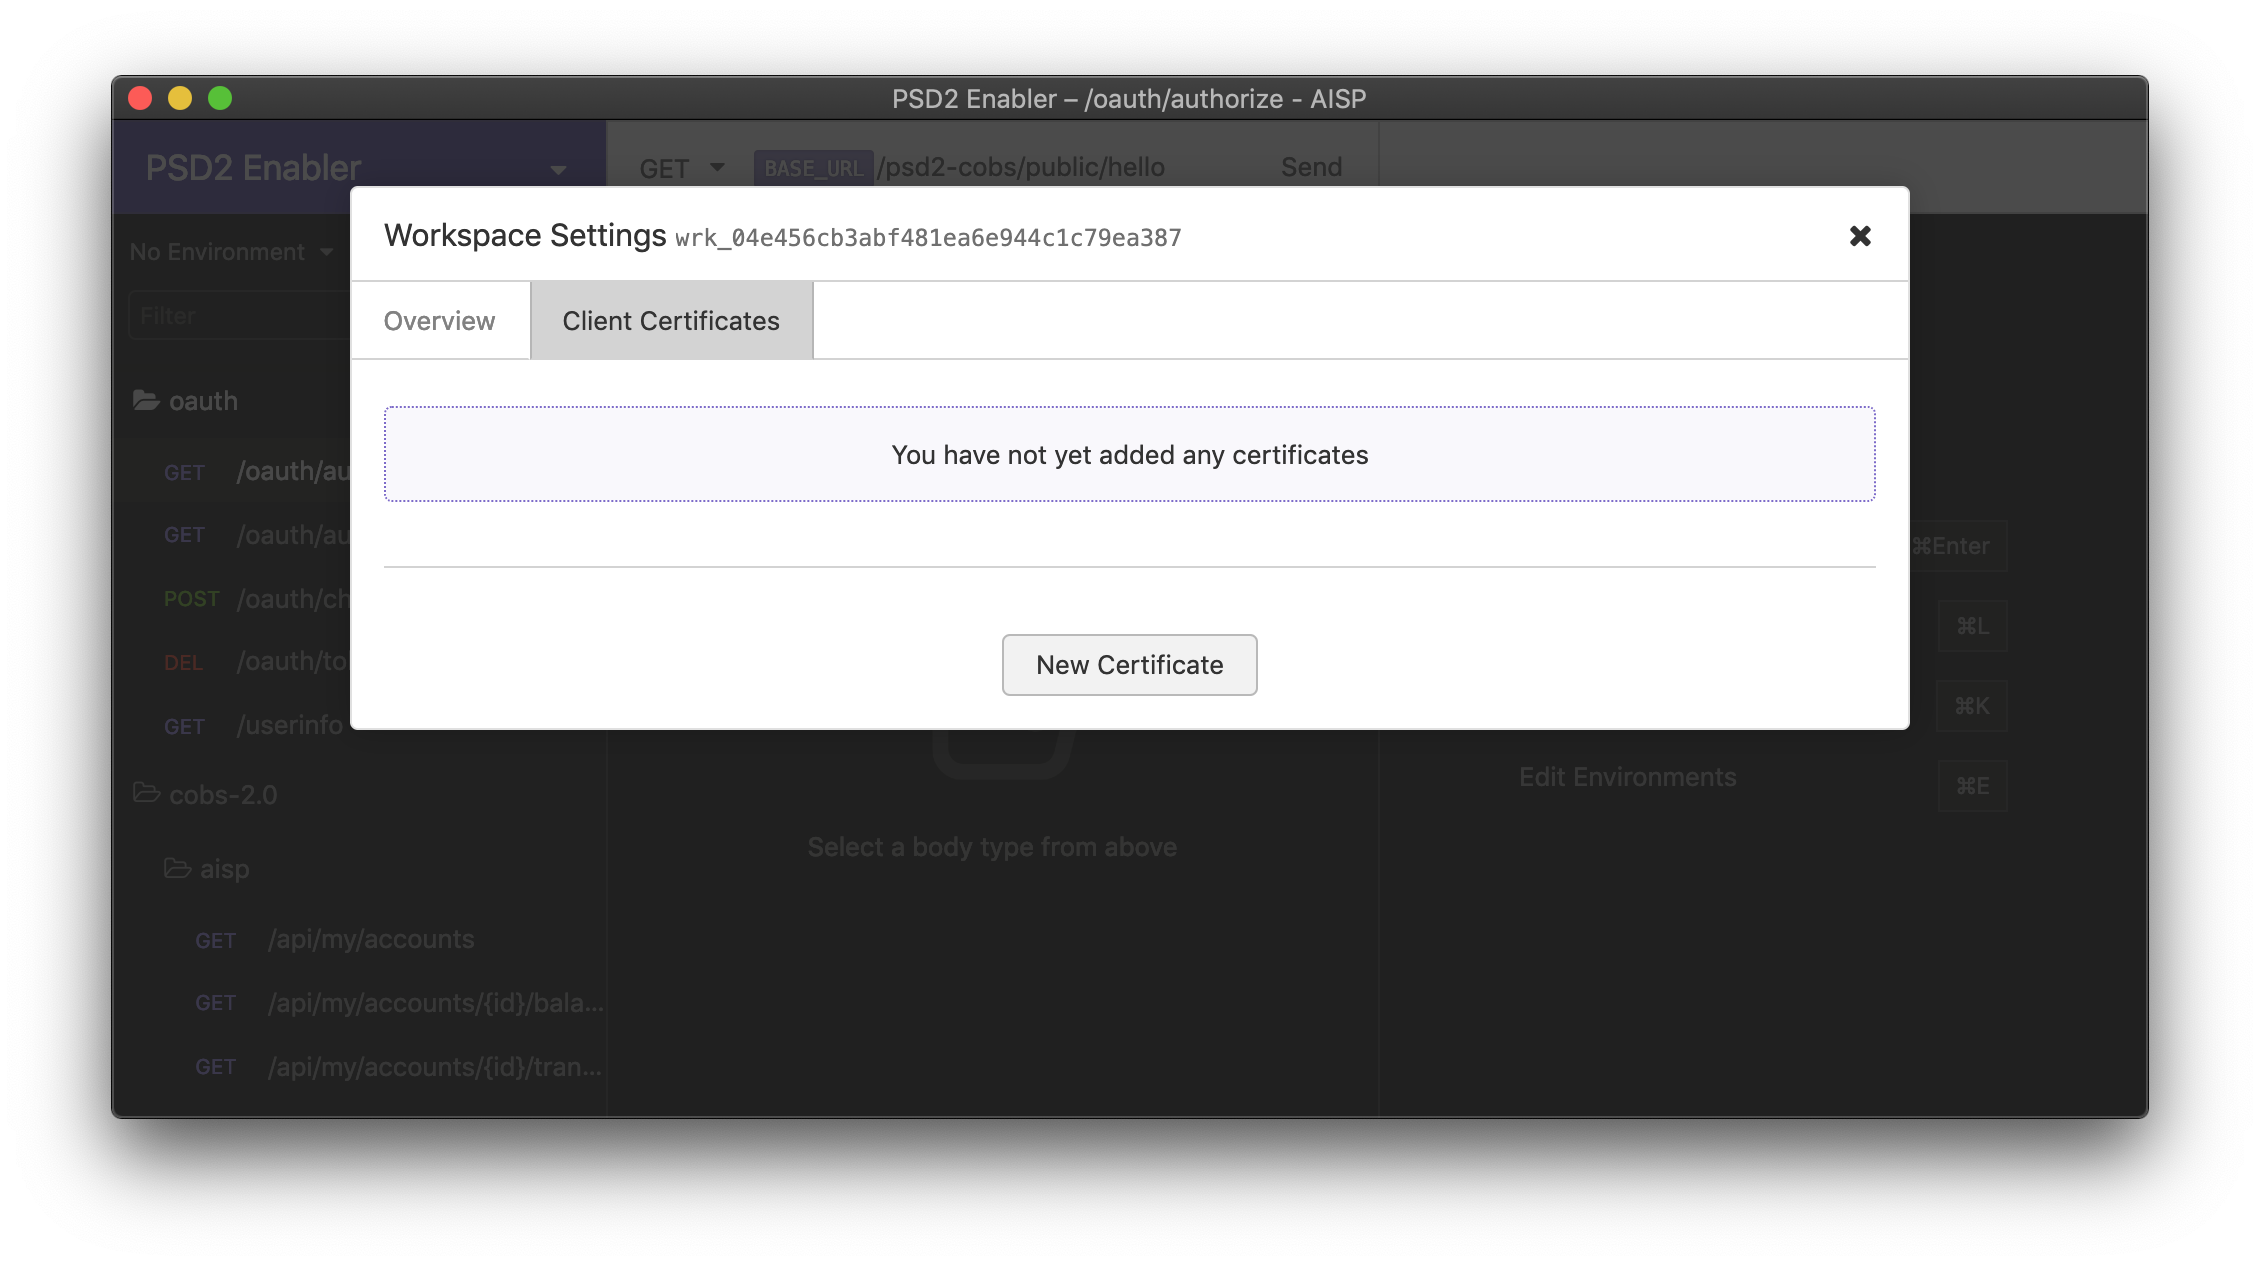
Empty list of certificates.
- Set up the certificate by using the configuration for
aboktpp.cnb.czdomain - select your full certificate ( .pfx or.p12 - note that on some systems, the other option to use key and certificate file are disallowed by the system security policy), enter certificate password and check the "Private" checkbox. Then, finalize the process by clicking the "Create Certificate" button.
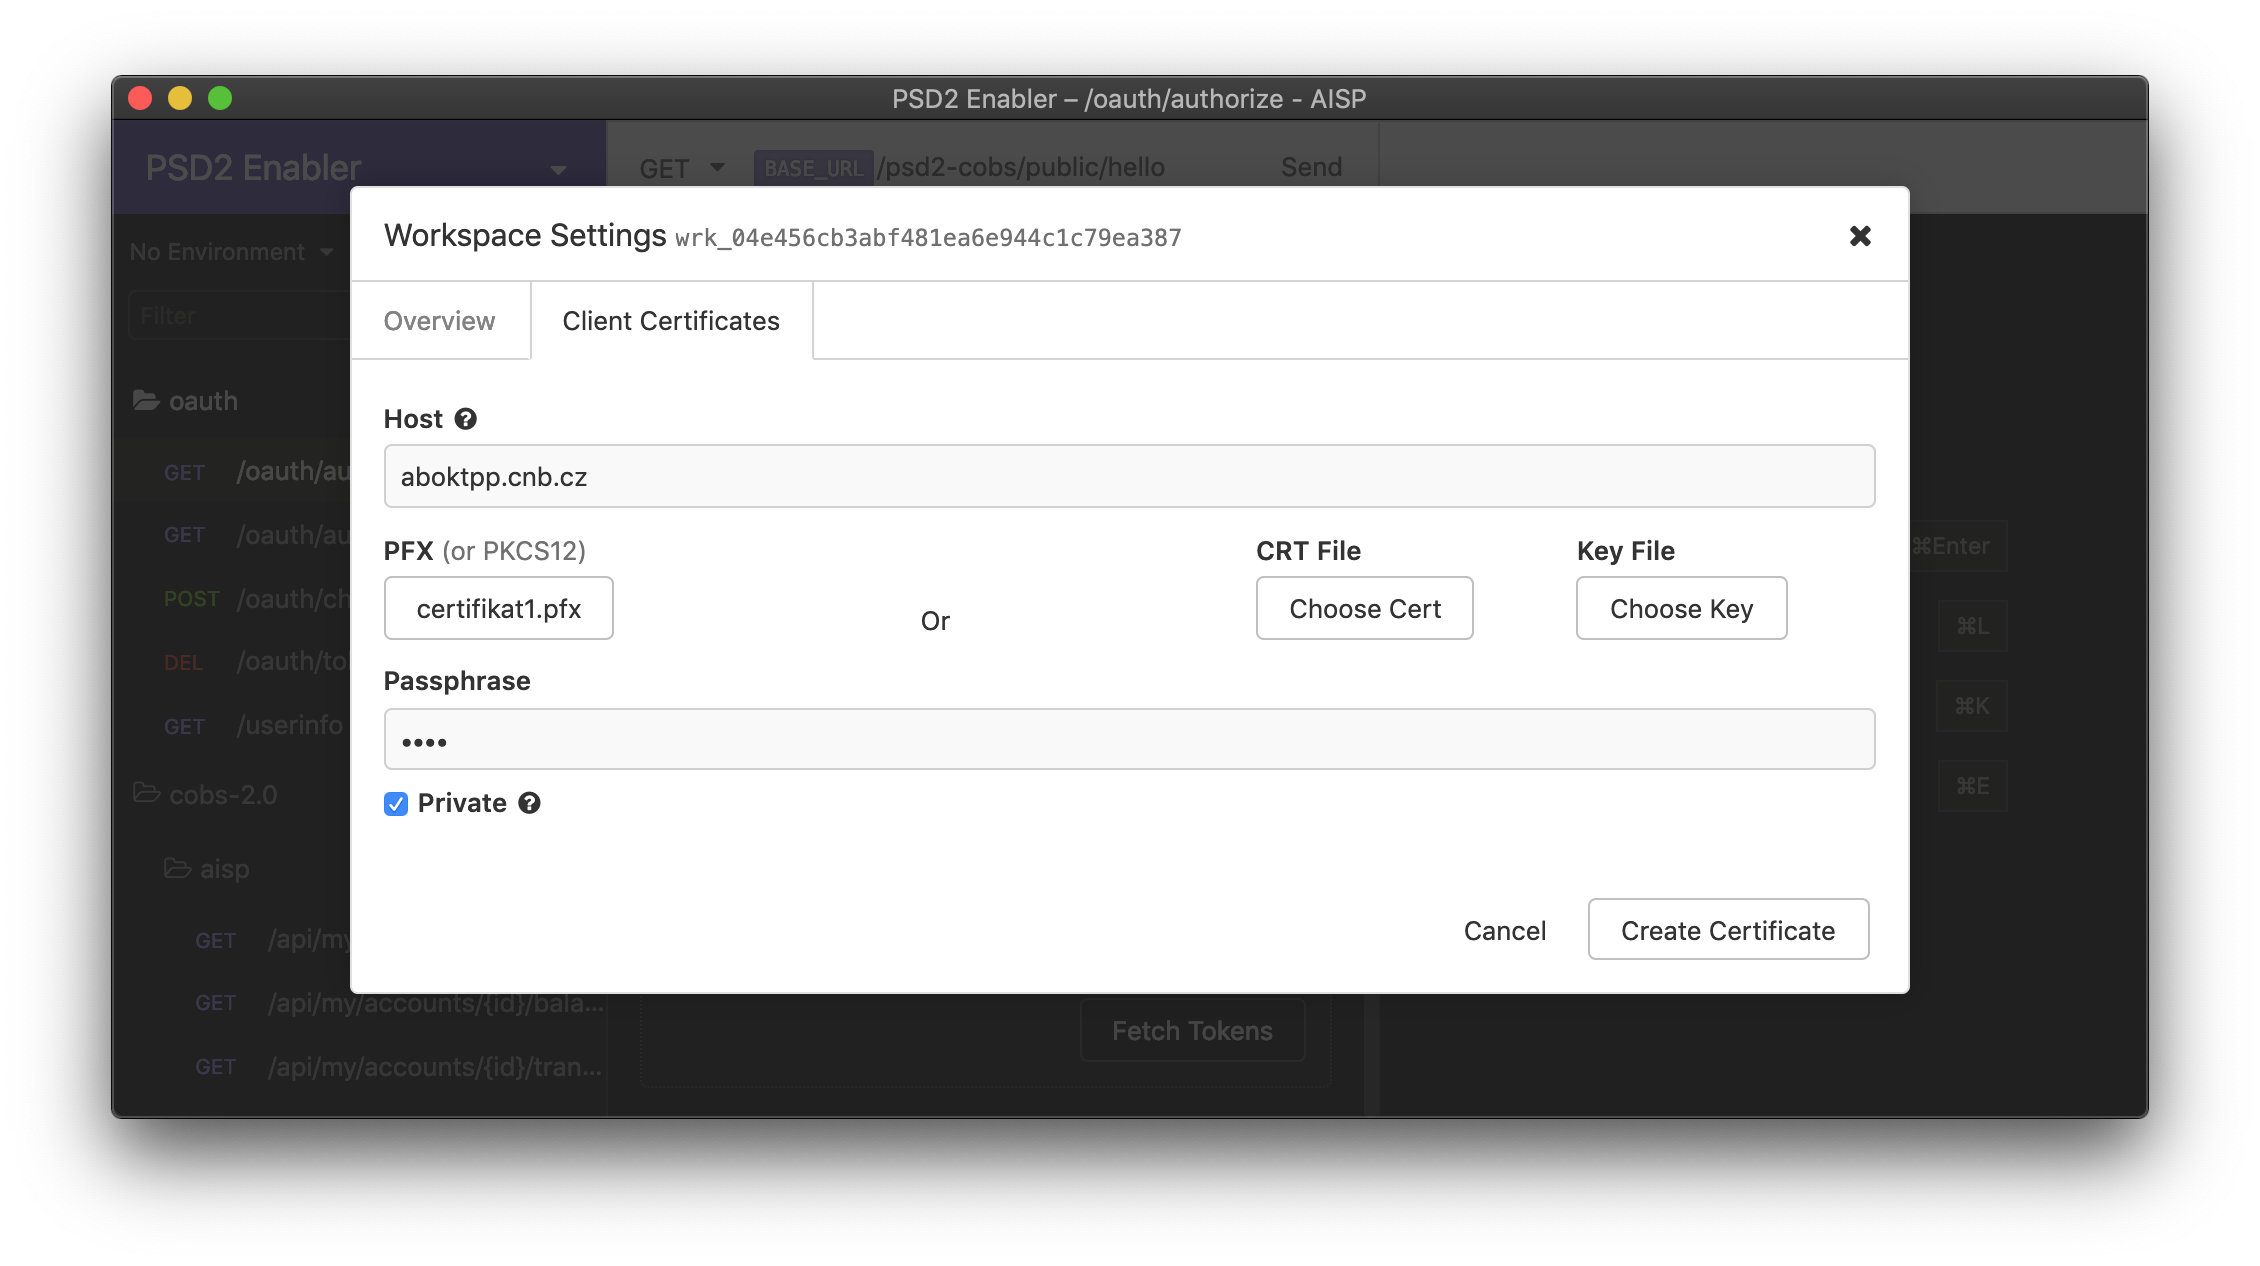
Configuration screen for PSD2 certificate.
- Review the certificate in the "Workspace Settings" and close the window using the close button in the upper right corner.
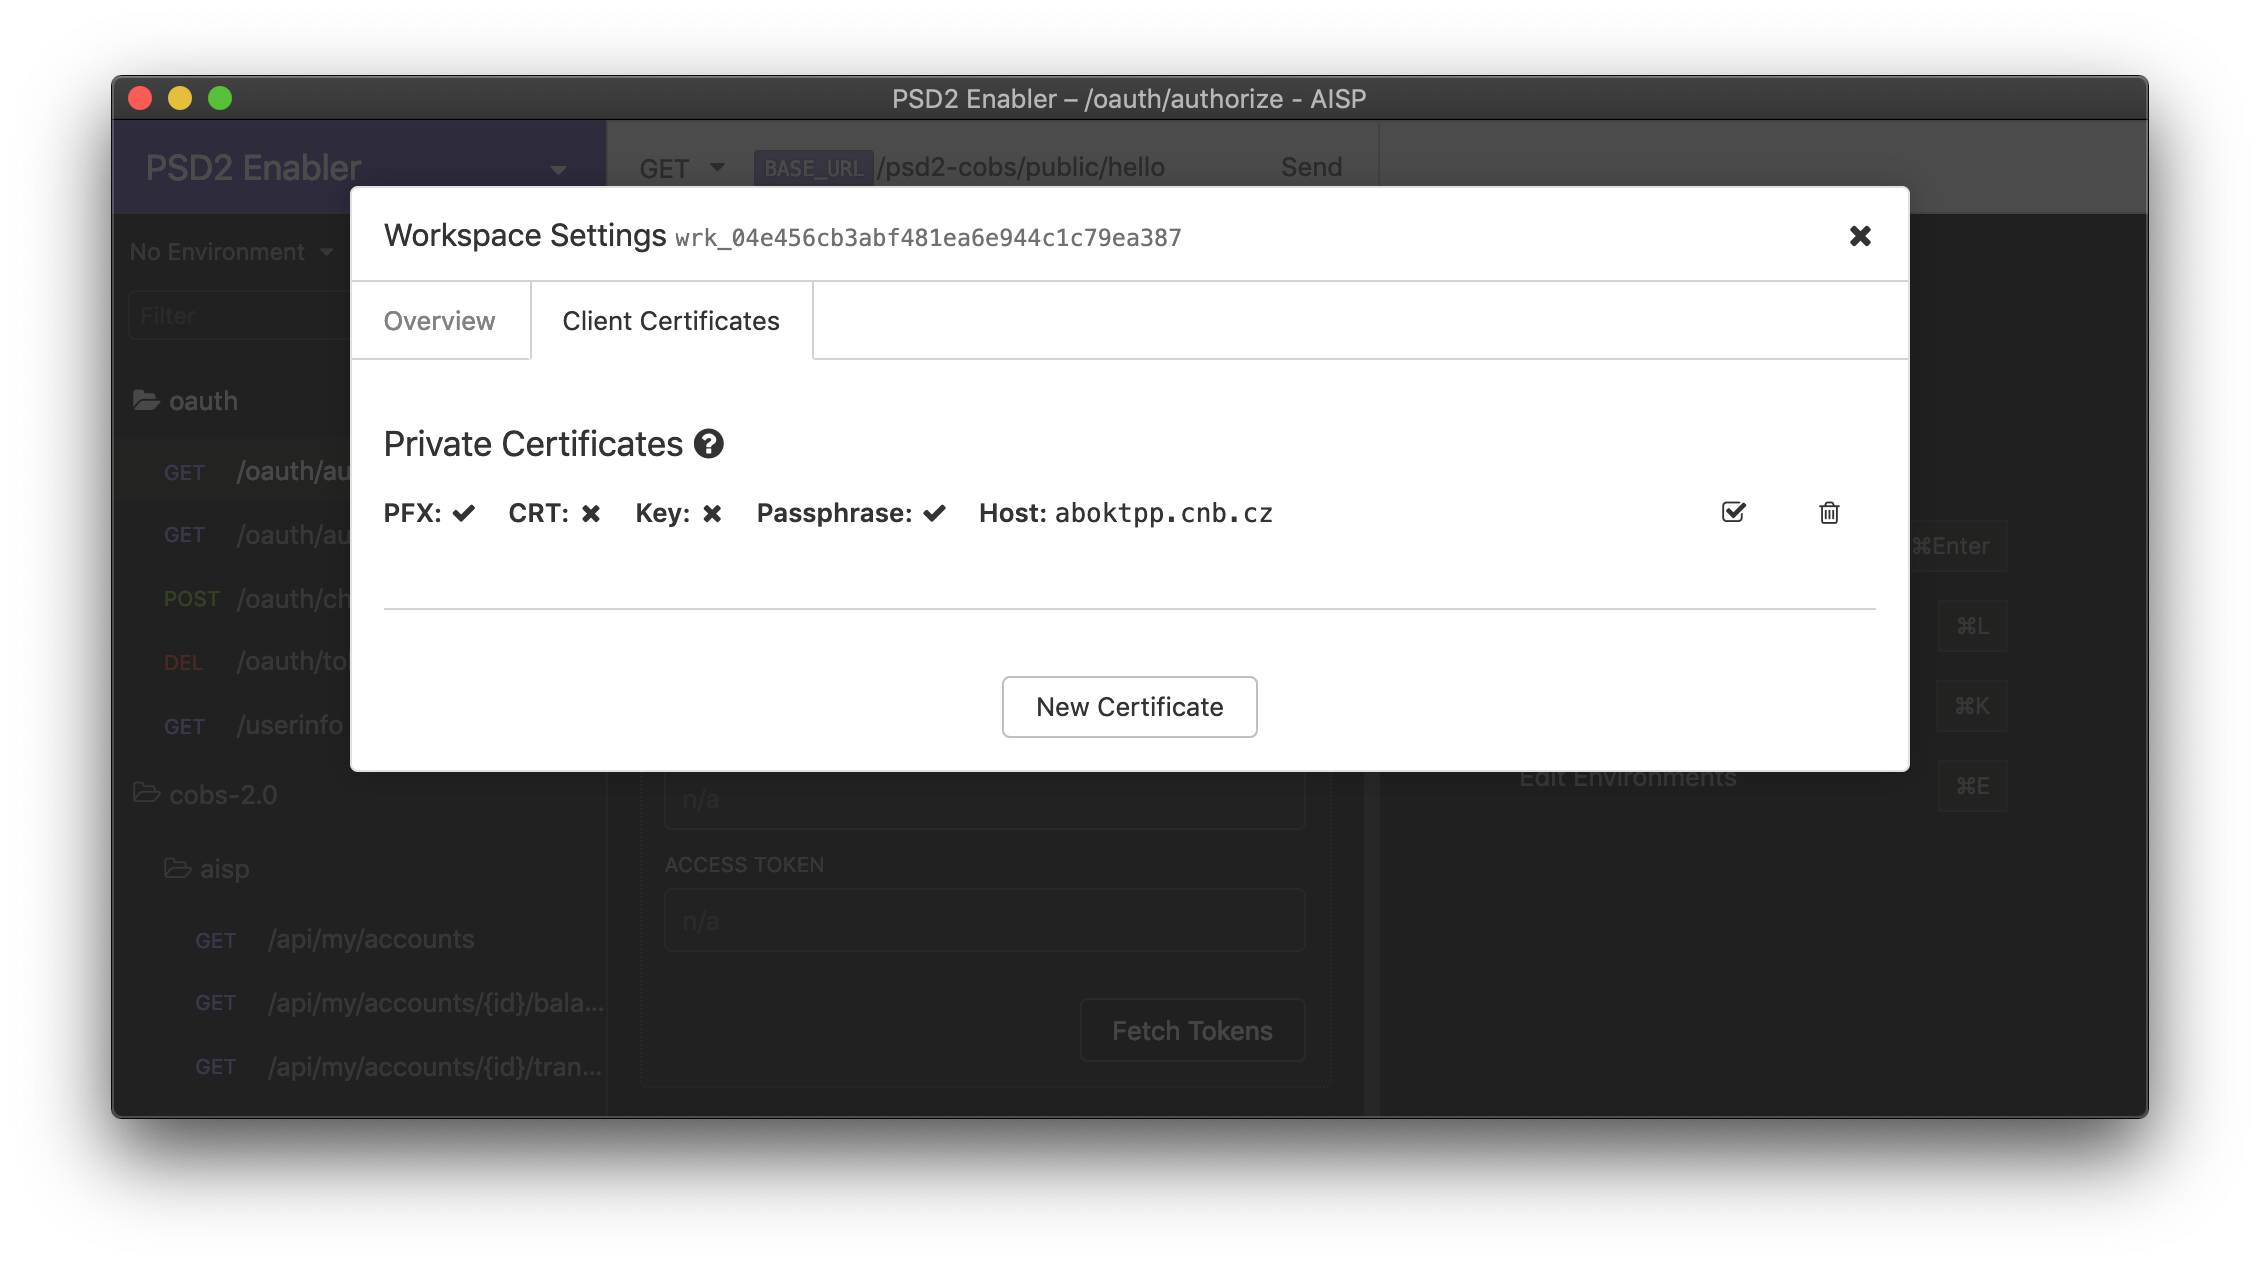
List of certificate containing just created certificate.
5. To make sure that the configuration correctly applies, we suggest restarting Insomnia client.
Updated 11 months ago
After you successfully configured Insomnia and your PSD2 certificate, you can proceed to create your first application.
